
This is my 4th steps techni to paint reallistics metal parts :


See you soon 😉
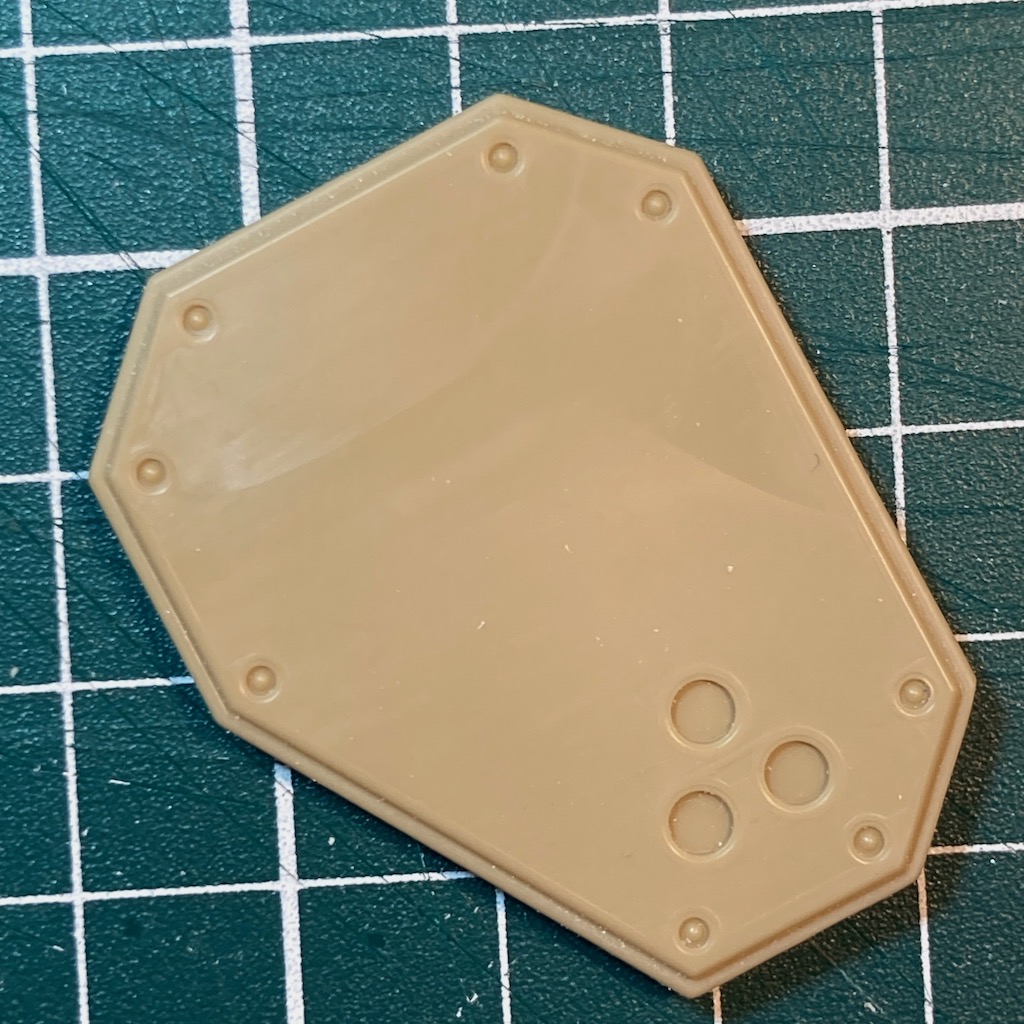
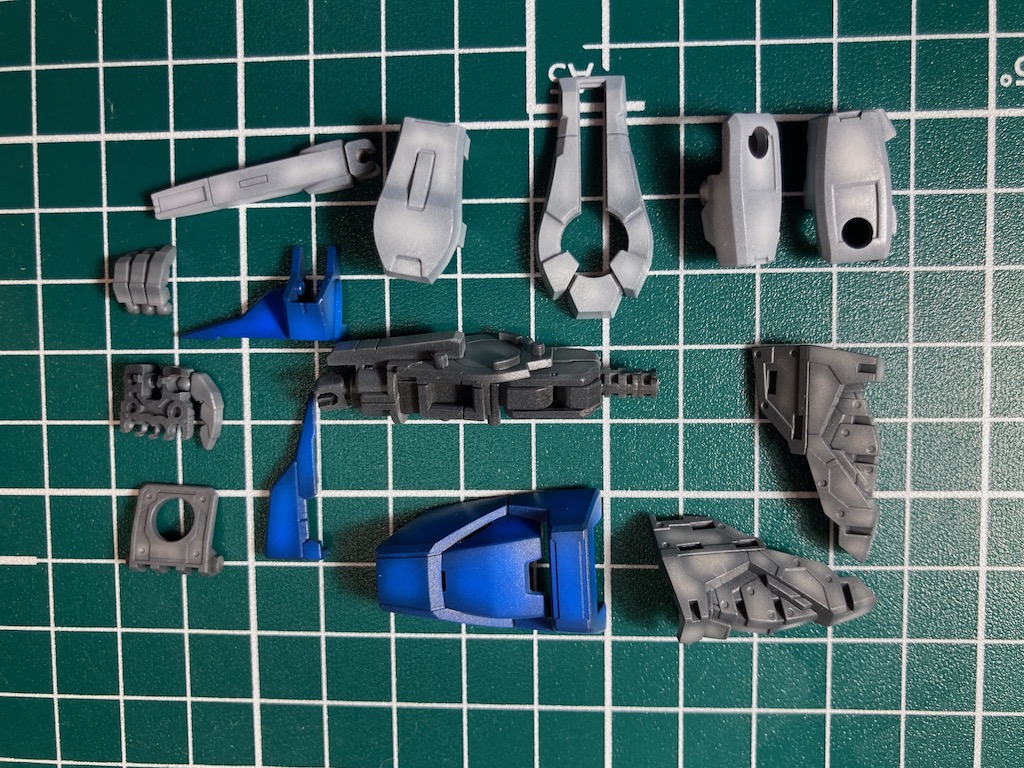
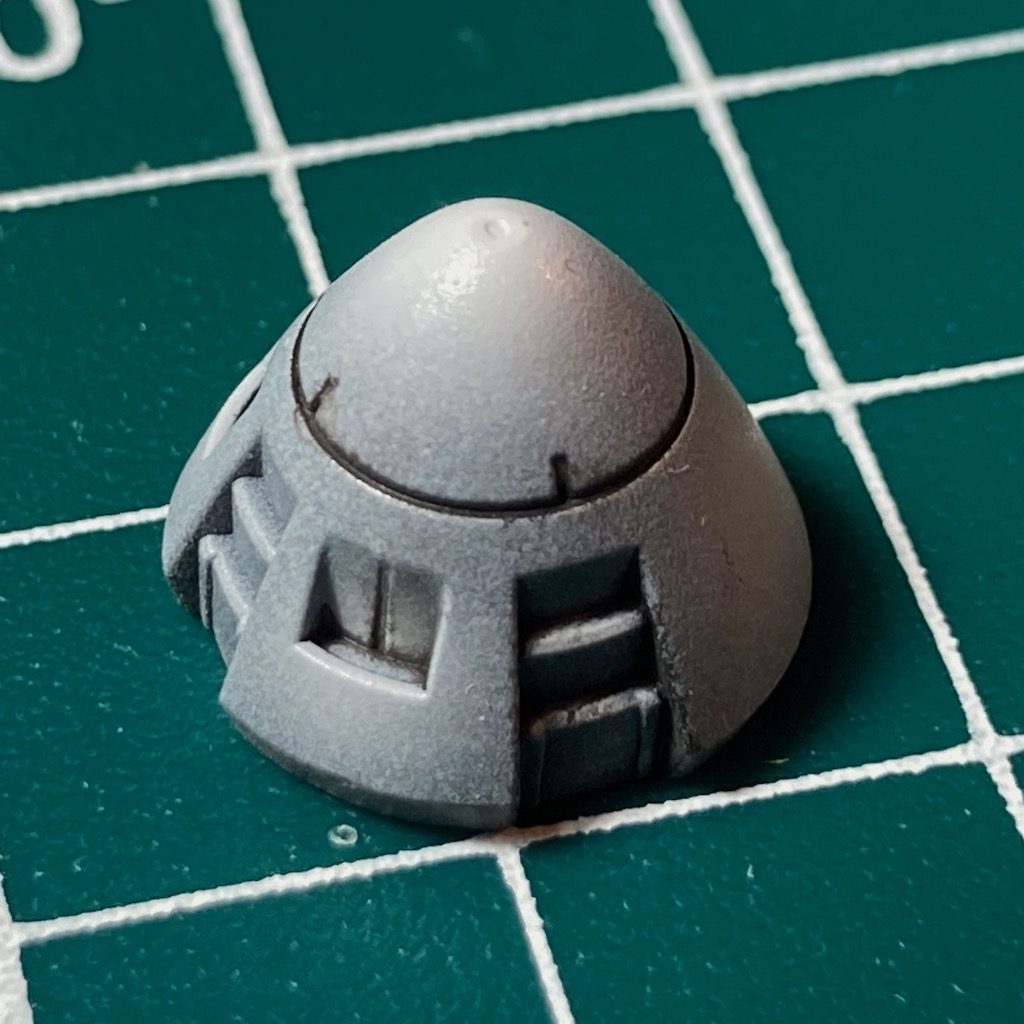
I’ve started to work on a new mech robot model kit of an original robot. It’s made by PLUM and it’s called LEYNOS. It’s inspired by the video game Assault Suit Leynos. In this article, I present my first minutes (hours?) of assembly.
I wasn’t familiar with PLUM’s models, and I must admit, I was surprised when I opened the box. The parts are highly detailed, with rivets and screw heads. This will require a little brushwork to highlight them.
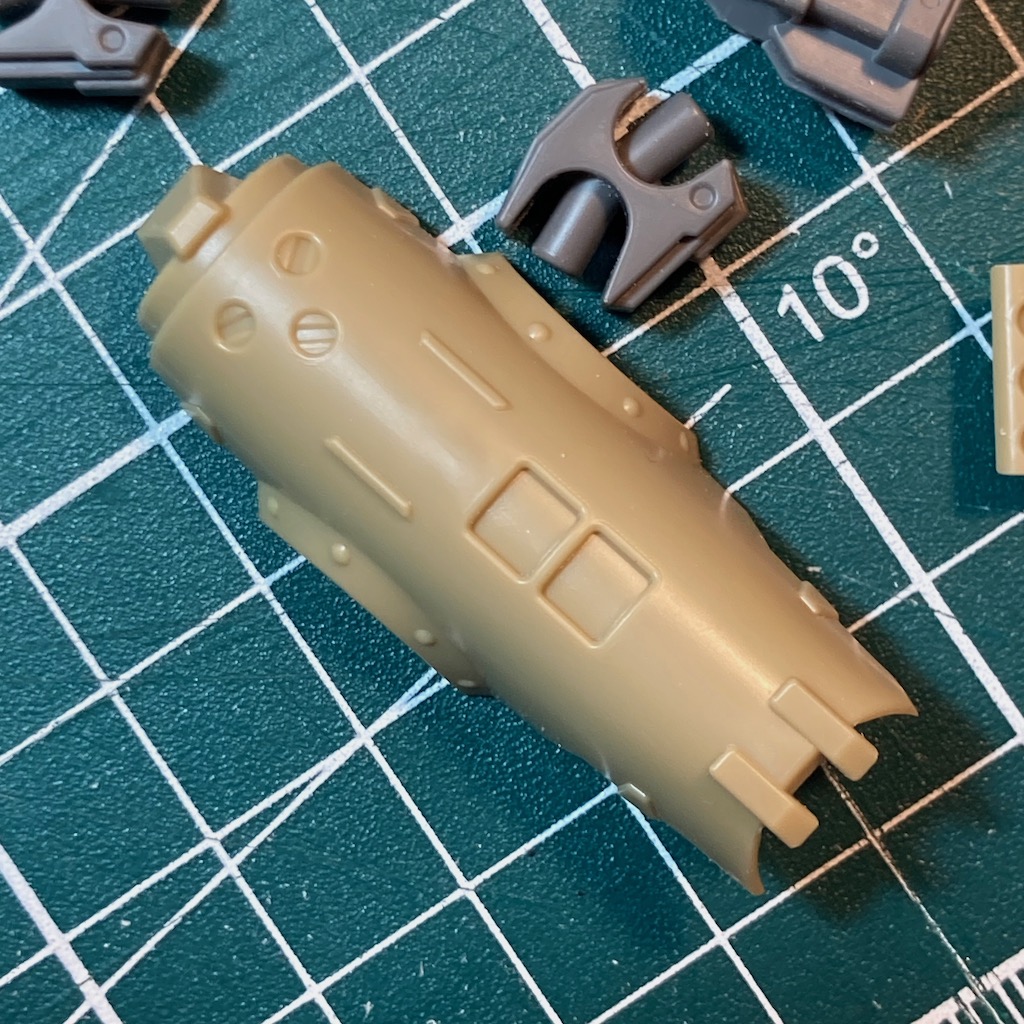
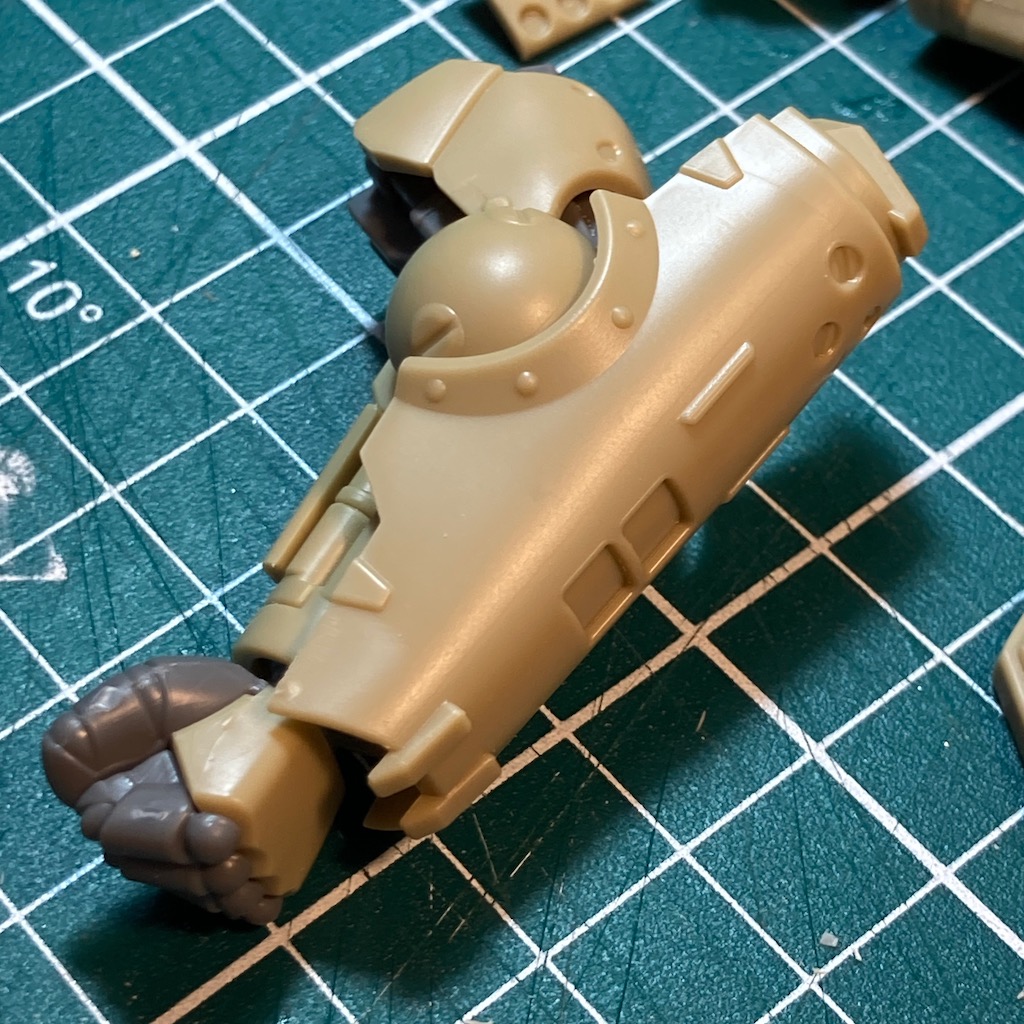
Assembly goes smoothly. The parts fit together without problem. I opted for glue to complete the joints.
You’ll need to paint some parts to make the kit a little more interesting. The sprues only come in 2 colors, which lacks variation. It’s a nice change from Bandai kits, which are usually very colorful. But I like painting the little details.
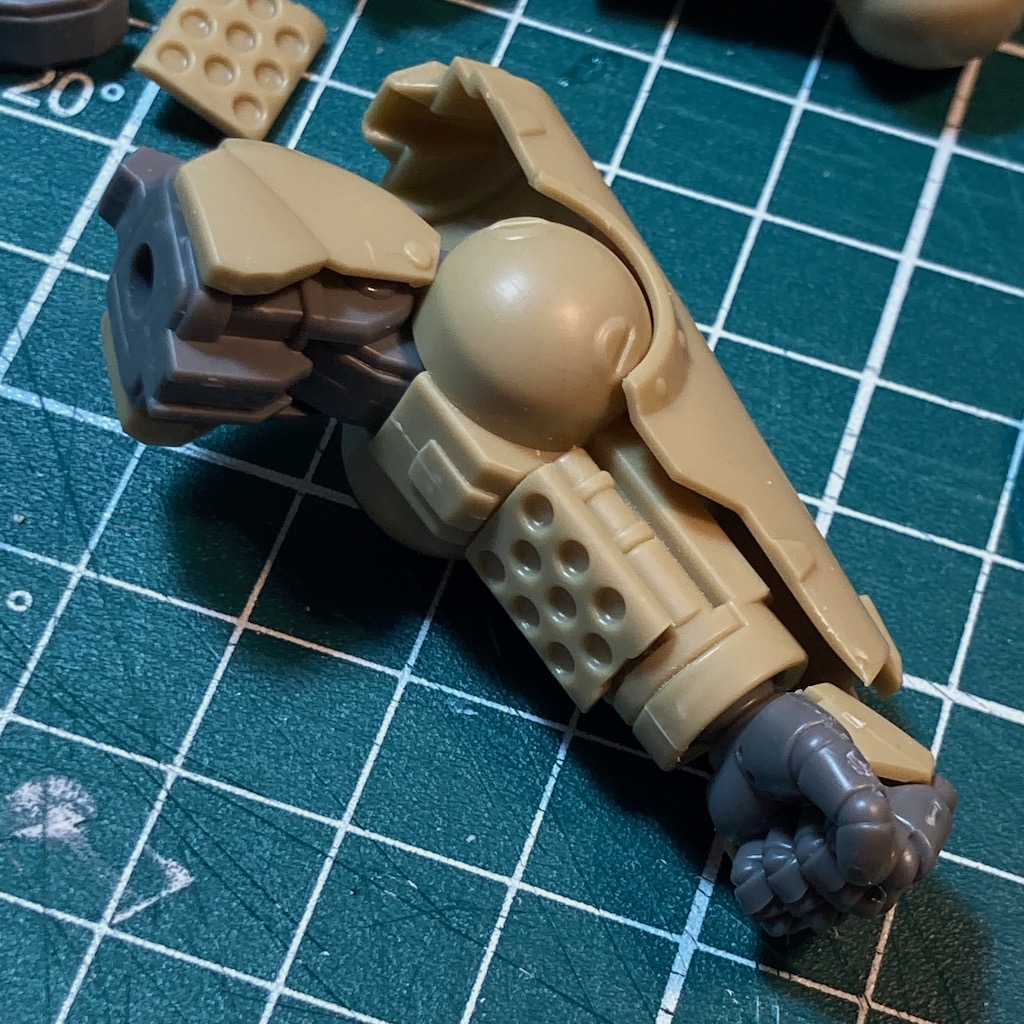
In a future post, I will finish to prepare all the part of this mech robot model kit. I will show you a straight build to check if there is no problem. And I hope to begin the paint.
See you soon 😉
I’m working with my first entry grade RX-78-2 gundam kit. It’s really simple to build it. But it don’t have a lot of details.
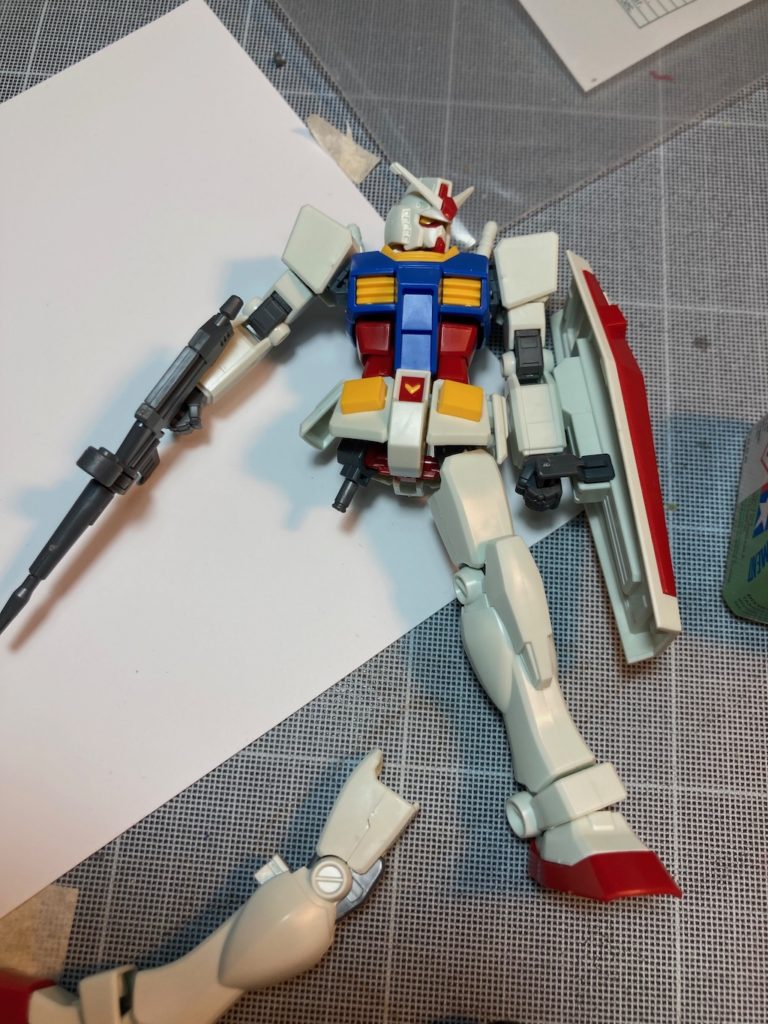
So I decided to improve it with a custom paint. I kept the original color scheme and I added shadows and scratches in order to create a more realistic mecha.
I chosen a black primer in cans to begin , then I used 3 base colors (red, blue and yellow) from GreenStuffWorld to prepare the pre-shading.


It’s time to paint the base coat with the airbrush (0,2mm nozzle), I decided to work with the MIG Ammo acrylics paints for this part and specially with a special set made for gunpla. But this paint cover a lot the under coat, so I used a specific product called « transparator » to improve the transparency of the base coat.
Two coats is enough to cover the armor and to keep the pre-shading work. It work perfectly for the white, the red and the blue. I hand painted the yellow parts to avoid to mask all the model. And to finish I dried brush the articulations.


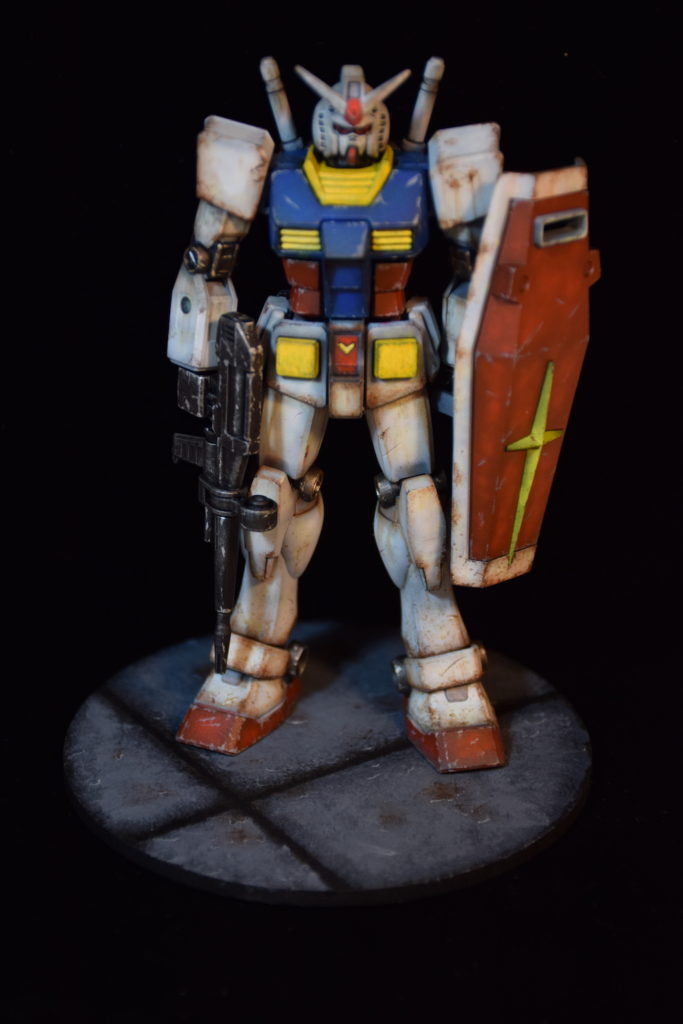
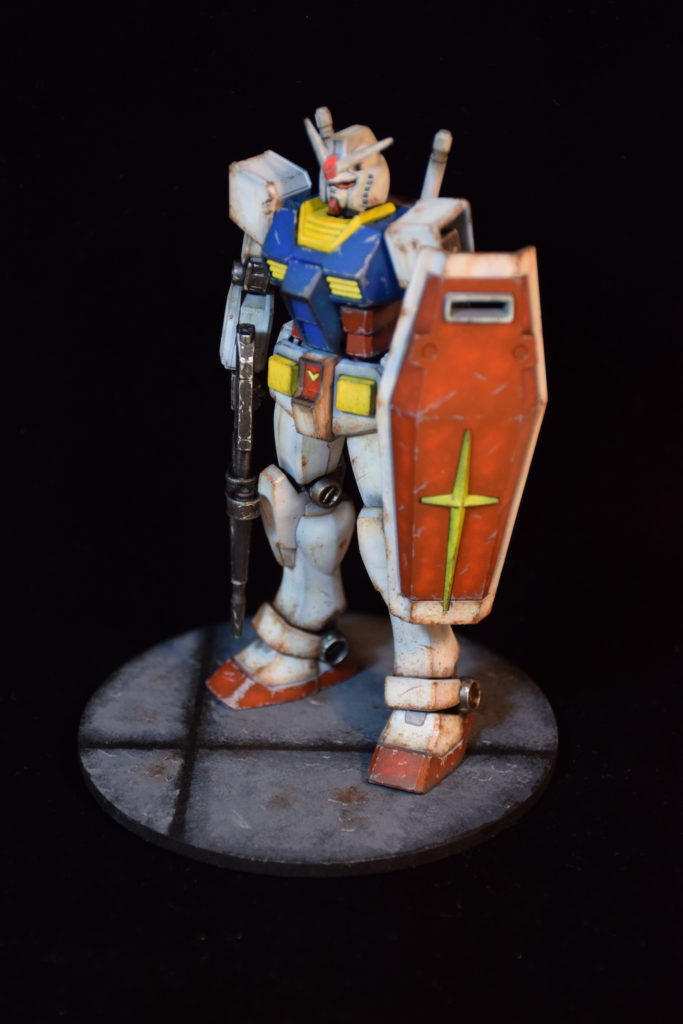
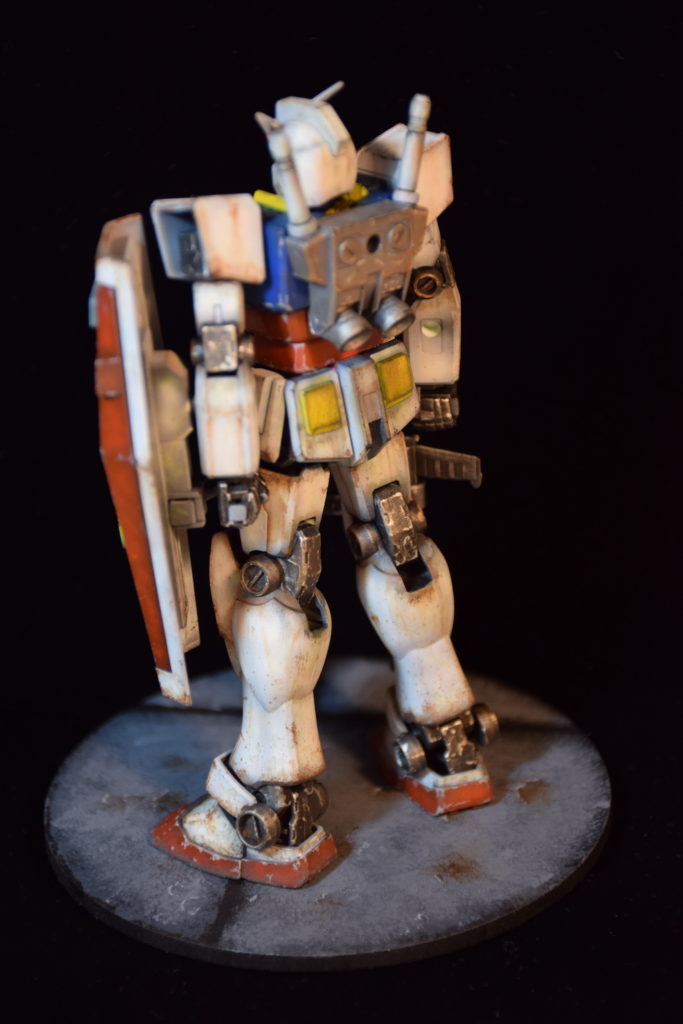
I added some grey scrathes by brush on the colored parts, and brown scratches on the white parts. I continue with enamel washes to make rust streaks and dirt effects on specific locations.
To finish, I put medium rust pigments.


After a matt varnish coat, this the final result.
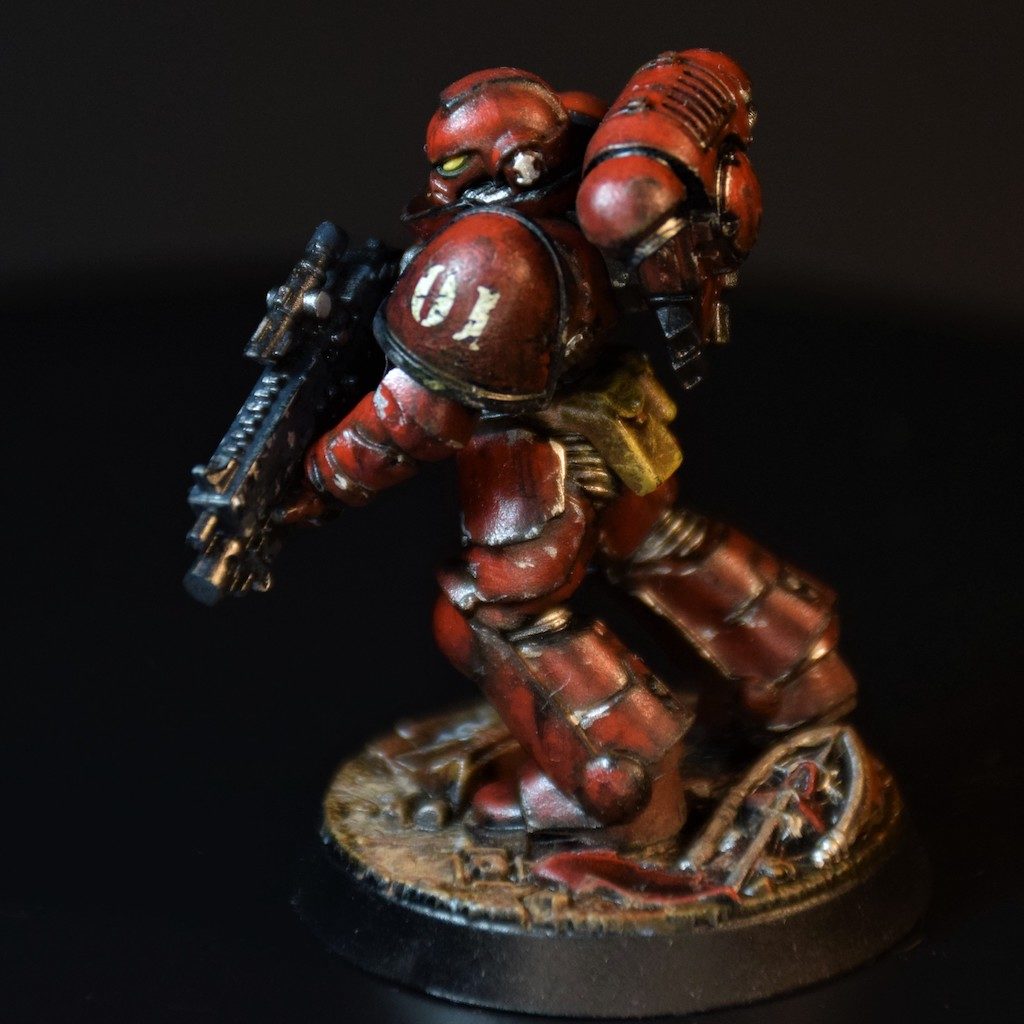
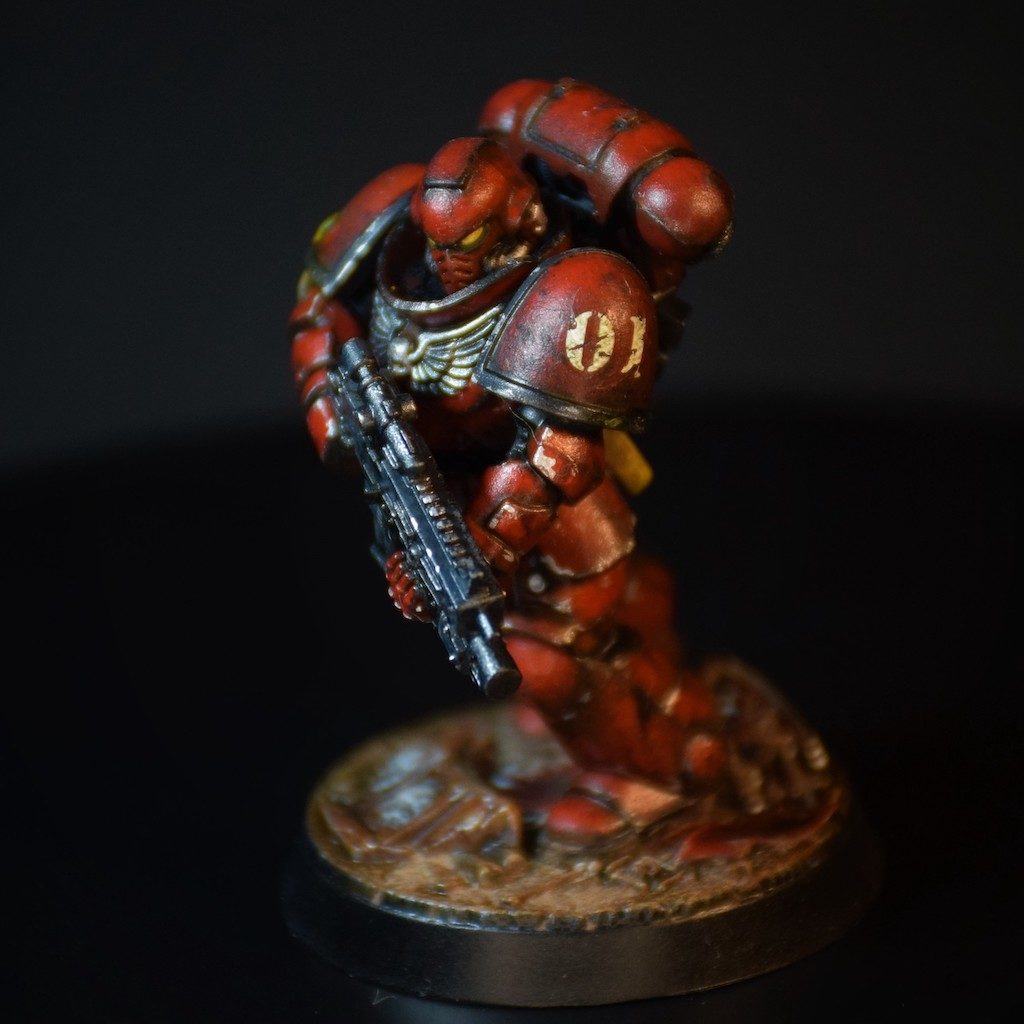
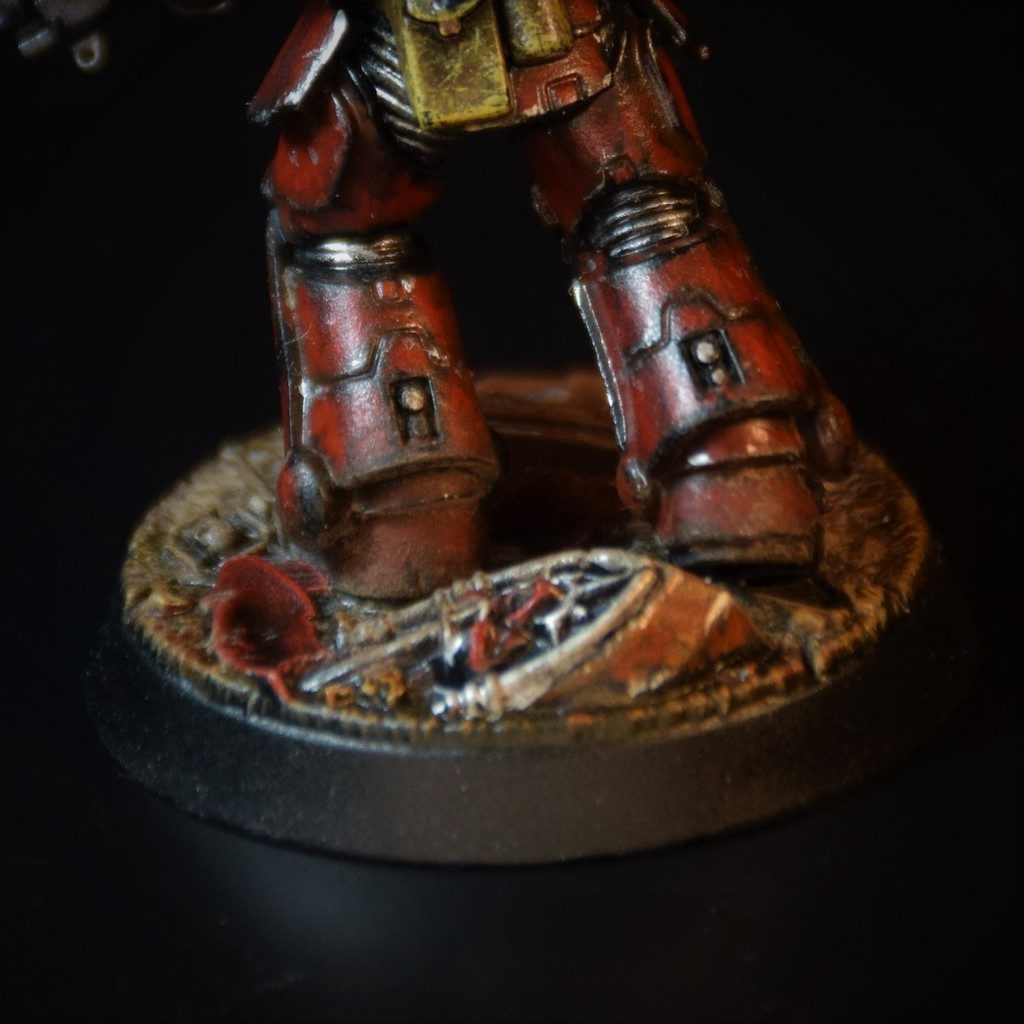
After a lot of mechas, I take few times to paint a warhammer 40,000 figurine.
Someone offer me 2 space marines, so I built one for fun. For the color scheme, I chose the blood angels.
See you soon 😉

Have a happy new year and a lot of fun ! 👍
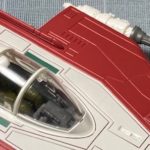
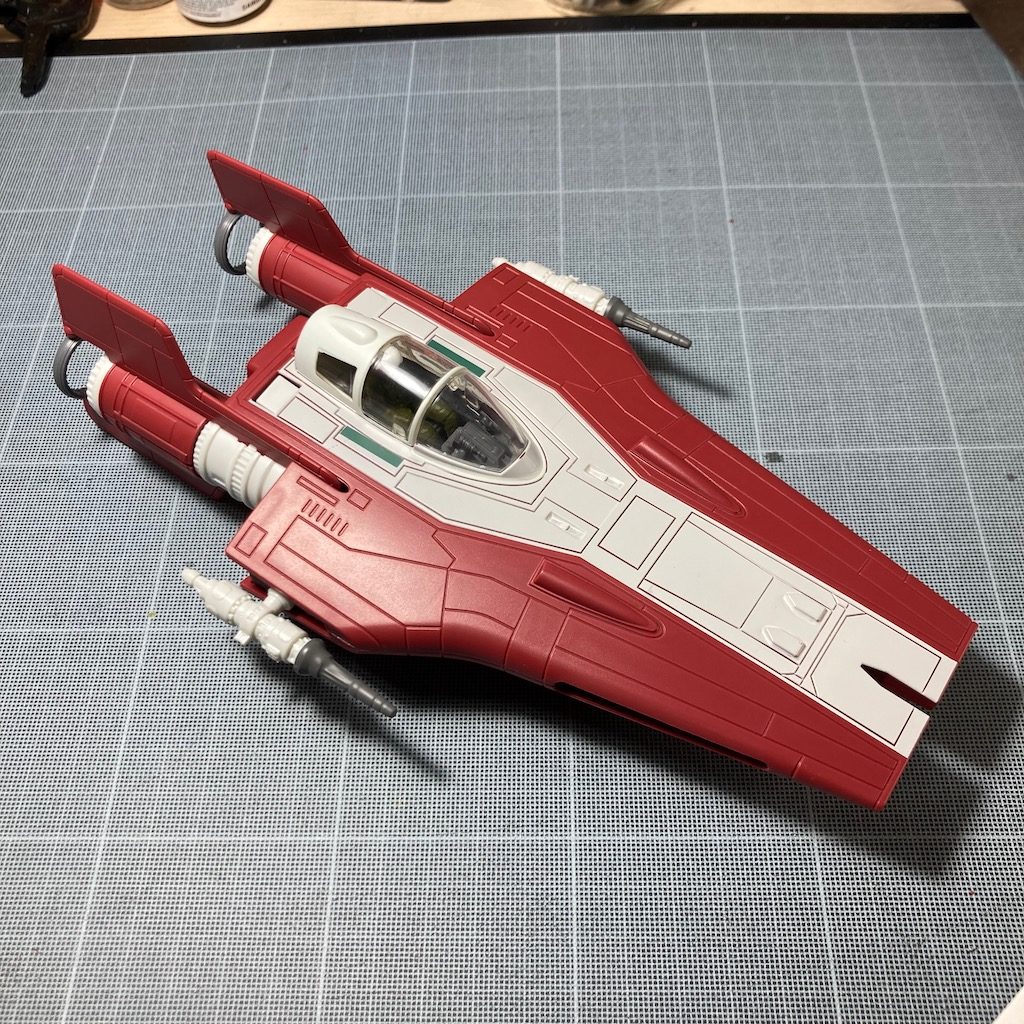
My new build is a starship from Star Wars the A-wing Interceptor. I use a simple kit from Revell.
Revell didn’t lie with this message « Build and play ». There is no runners inside the box all the parts are cut, so you can directly build the model kit. You don’t need glue, each pieces are perfectly adjusted.


After Few minutes (maybe 10 min), you finished. It’s clearly a build for kids. It’s not enough for me, because I want to change the colors and add some damages.
For a beginner, it’s a perfect kit but if you’re looking all pieces in details, there is a lot of problems. Some examples :


First to improve this kits, it’s to remove or fix this details. For this classic work, I used classic tools :
For this kit, I wanna try the citadel air paint. I primered it with a grey from vallejo. And let’s go for the Citadel paint.
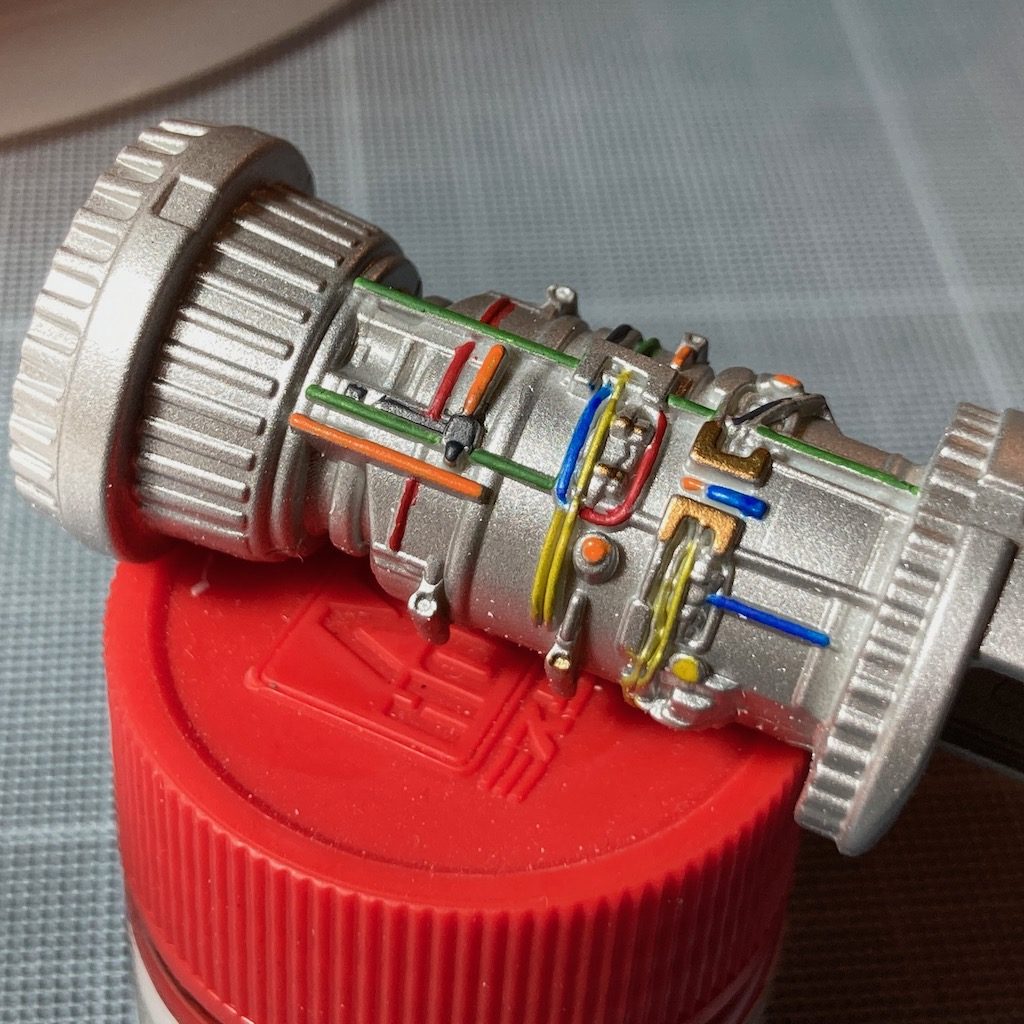
I begin on the reactor with several coats of runefang steel. The paint is thick, to use it in my airbrush, I mixed it with the thinner from Citadel.


I was surprised, because I’m not familiar with the paints from Games workshop. But the result is excellent and smooth, I like it. I continued to paint some details (wires, metal pieces,etc.) with a simple brush on the reactor, the cockpit and other parts.


See you soon 😉 to continu this A-wing Interceptor model kit.
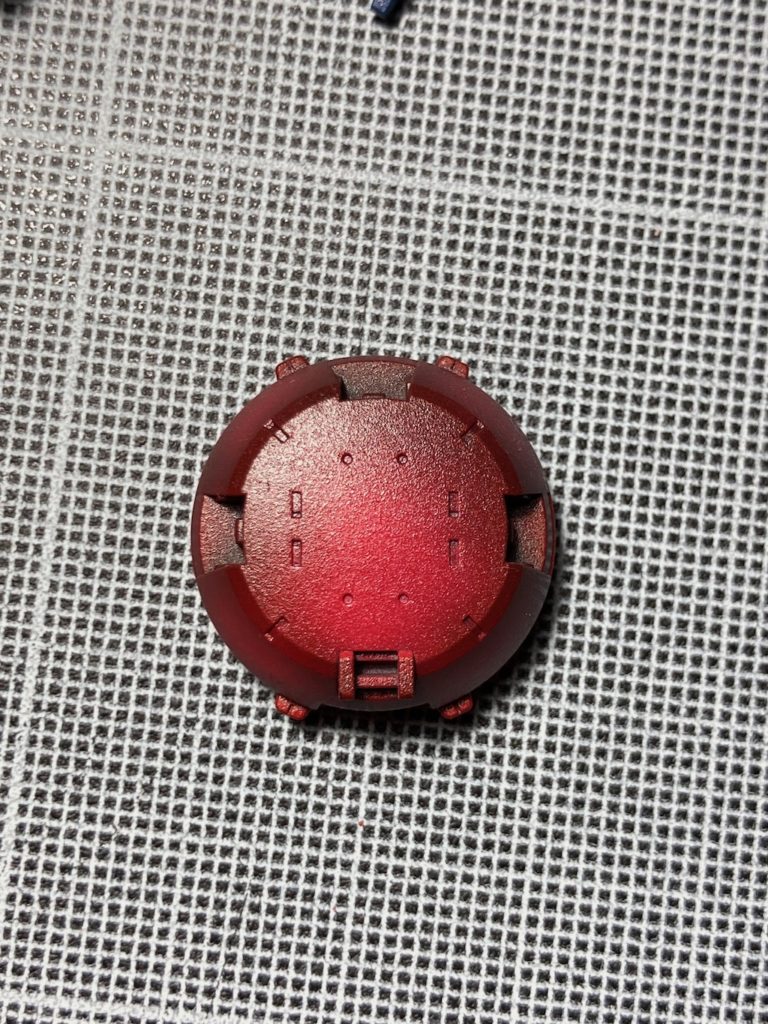
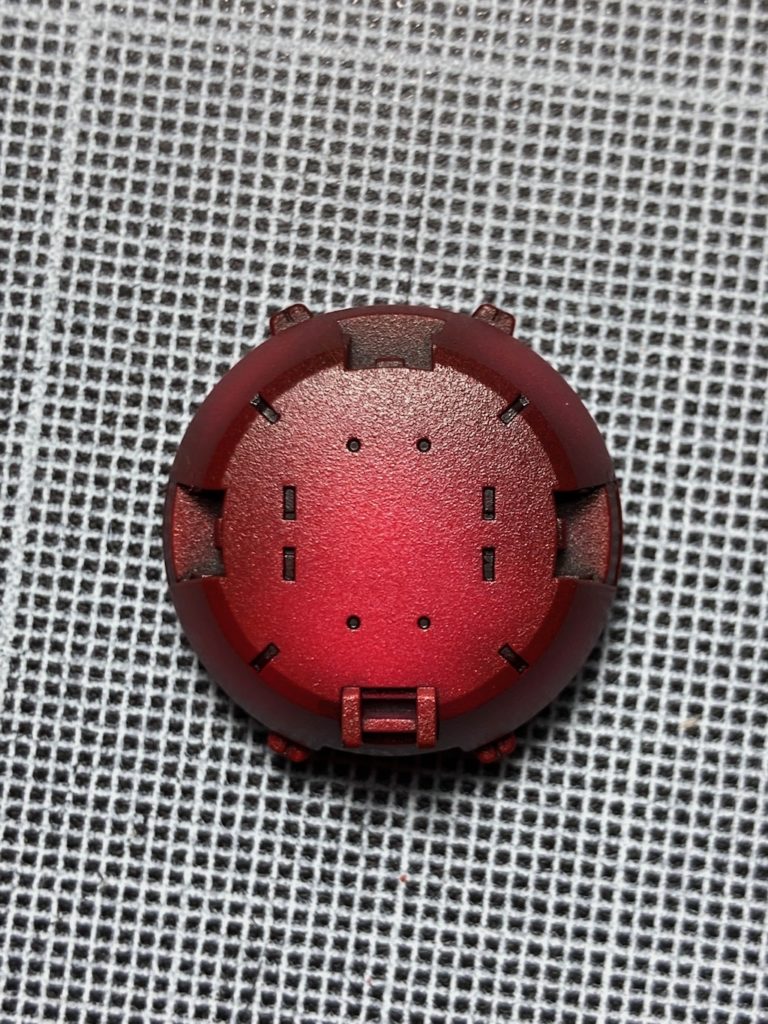
Definetly, I love this model kit. So I take my time to obtain the best result I can. For this post, I will speak about the custom base coat paint and the panel lines work. I don’t like the base plactic aspect of the model kit. So I prefer a custom paint gunpla.
A good way to improve the general aspect of the gunpla, for me, it’s to use the black and white technic before to paint the main color.
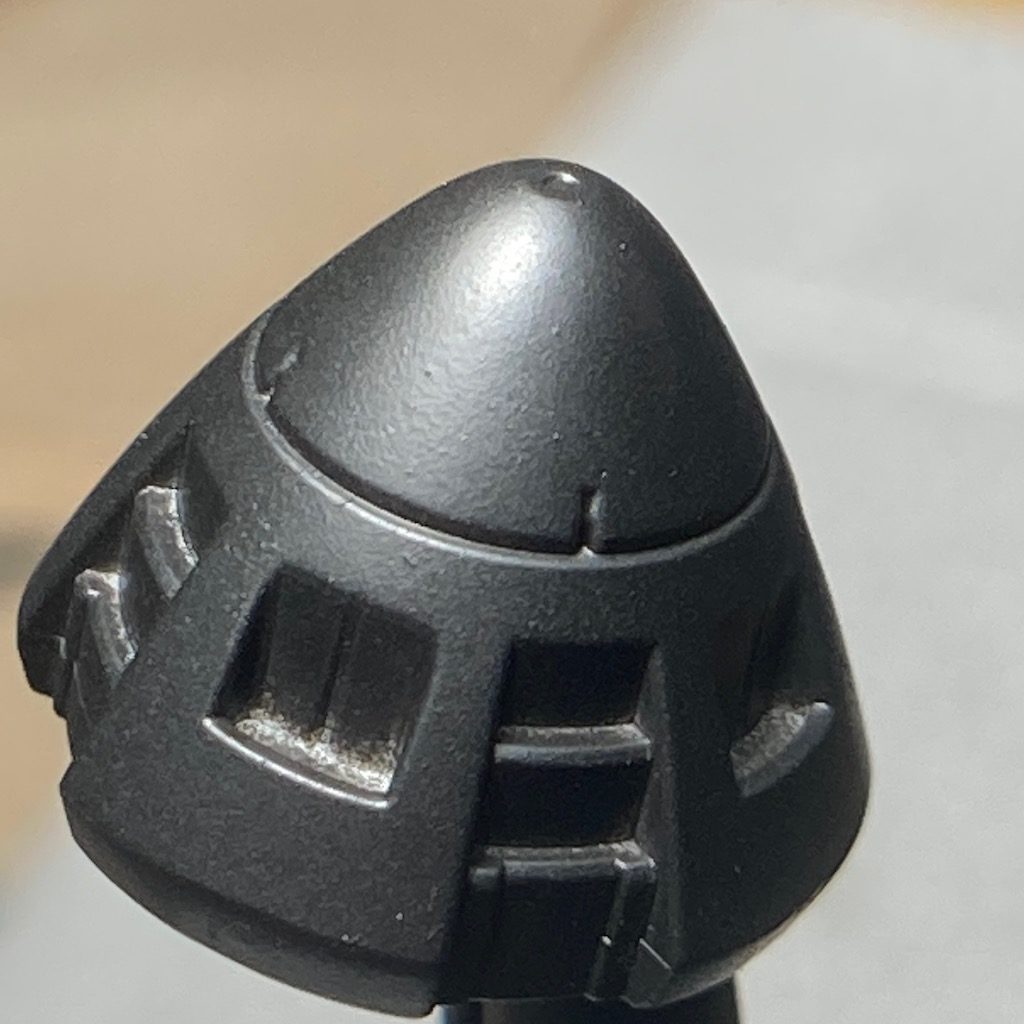
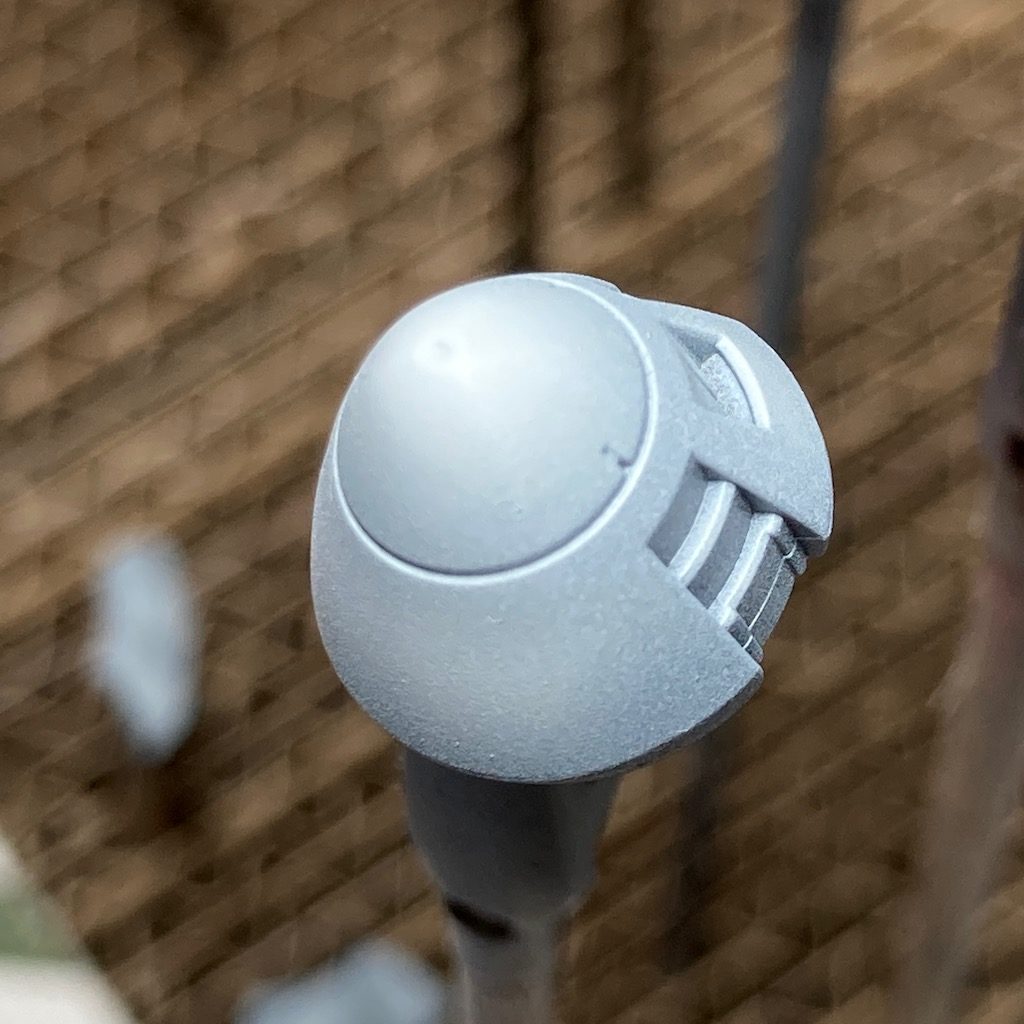
Like on my previous work on the MG Exia, I painted a black primer coat first (ref : vallejo mecha primer black 70.642) . Then I highlighted the parts with white paint (ref Mr. Color : C1). To finish, I applied the base coat with the desired color.
I used this method for all the pieces, It’s long but I like the final apparence of the gundam.
Did I say I love this Cobald Blue (ref Mr. Color : C80) ? 😍😍😍
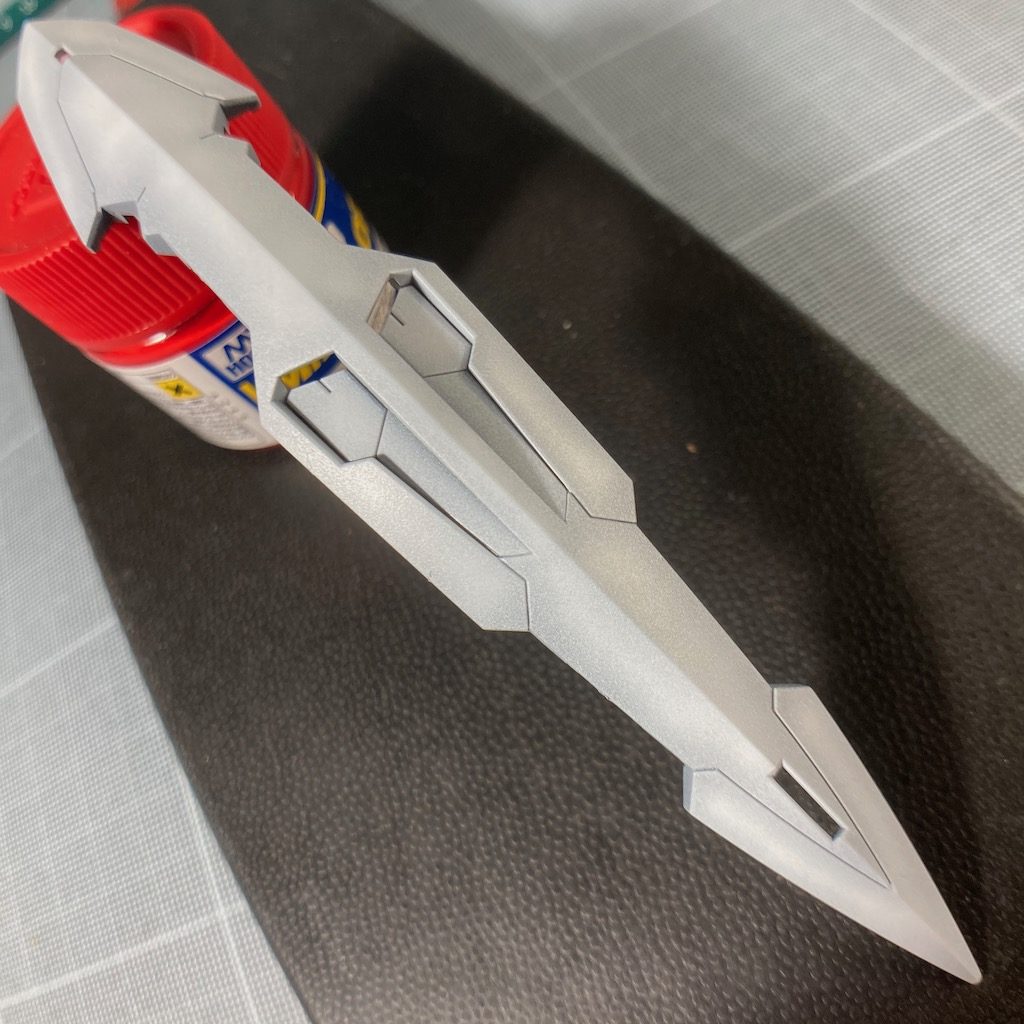

After several hours of painting, this is the finish work. I’m really happy of the final result. I think the paint imprive the volumes … isn’t it ?
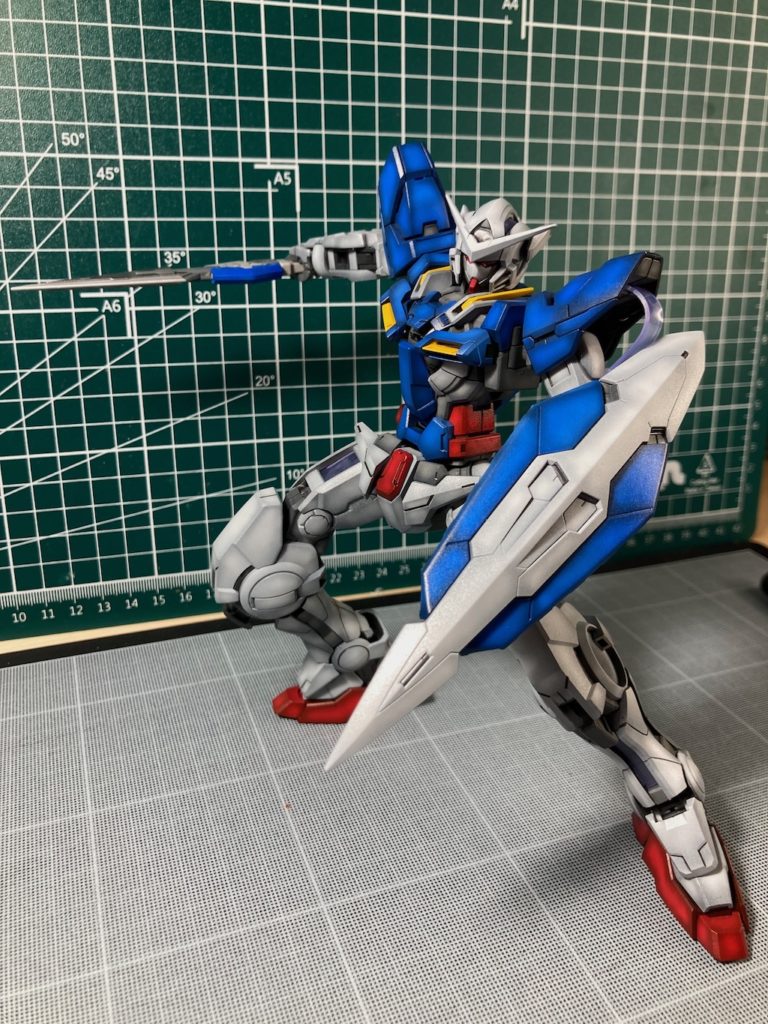
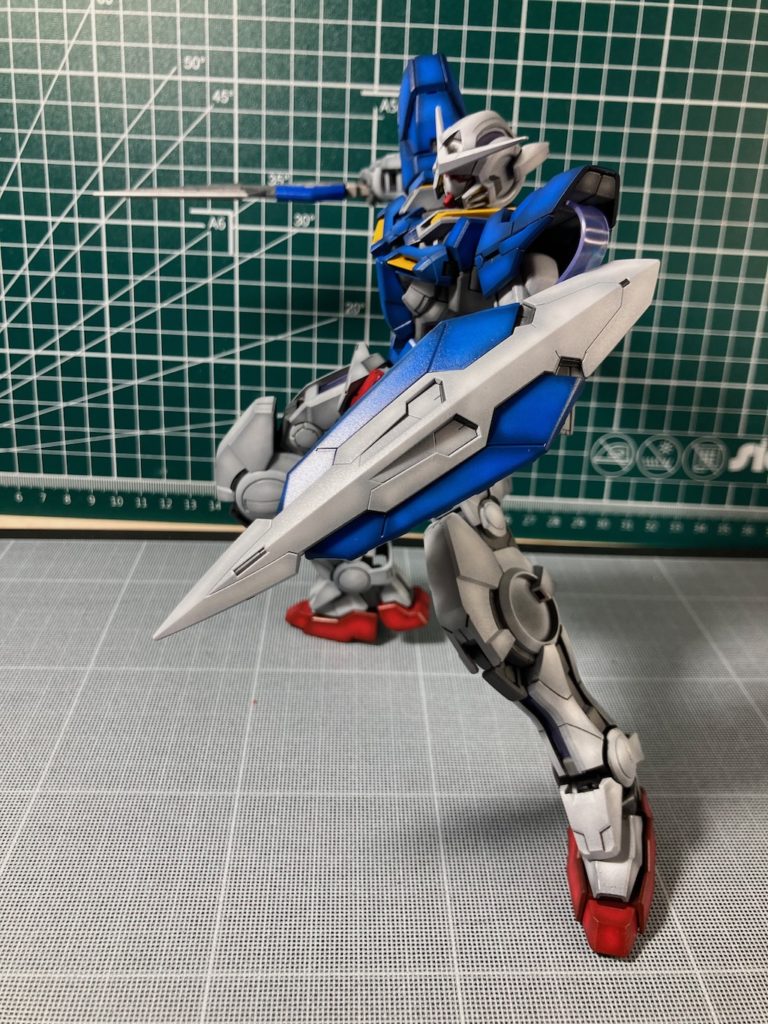
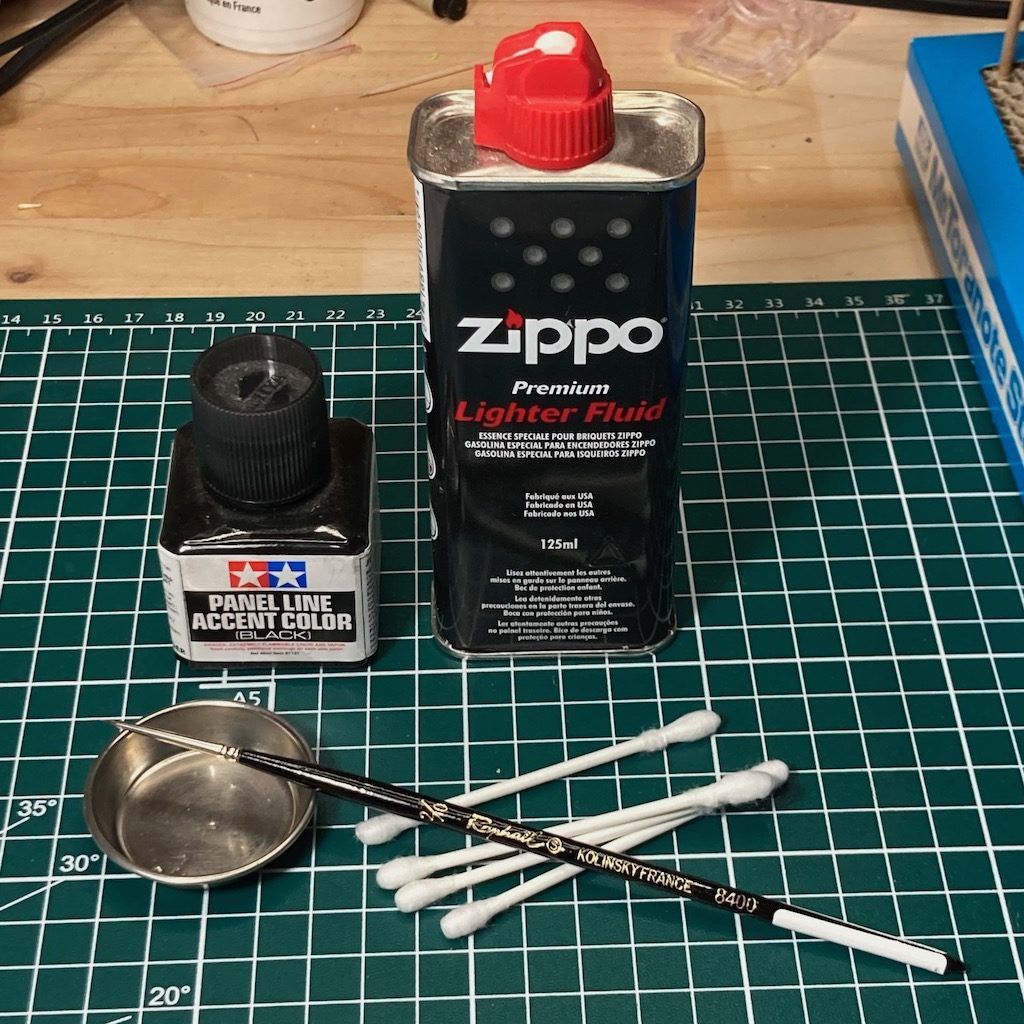
After that, I put a gloss varnish coat (ref : Mr Color. C46) which is very important to protect the previous work. It was ready to receive the enamel juice to improve the panel lines. Like usual, I used the panel line accent color product from Tamiya which is a perfect product for me. When I have more time, I made it myself with a classic black enamel paint thinned with white spirit. To clean it, I used zippo lighter fluid 😉 with cotton sticks or a little brush.
I don’t finish all the mecha for the moment but this is some photos without and with the product applied on some parts.
I hope this post will be useful to improve your gundam and to work on a custom paint gunpla. Don’t hesitate to write a comment and to share of you like 👍.
See you soon for the waterslides 😉.