Build done ✔️
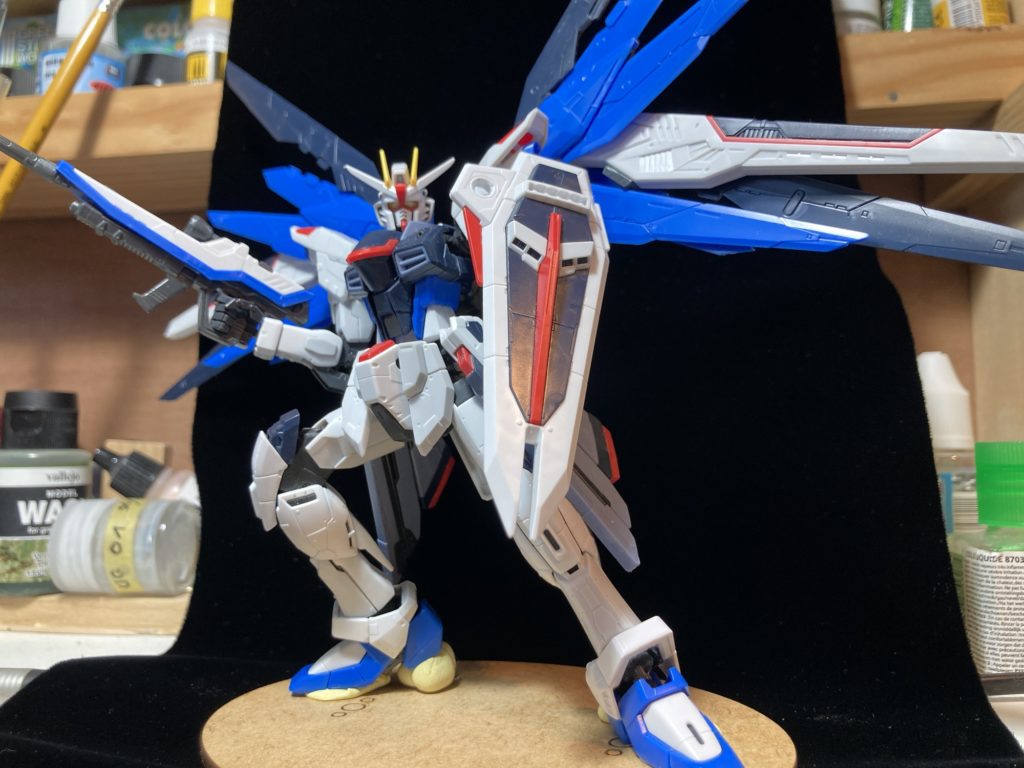
Next step : primer coat on leg parts
See you soon 😉
Build done ✔️
Next step : primer coat on leg parts
See you soon 😉
I made a little progress on the Leynos model kit from PLUM.
If you wanna see the work made before : Previously
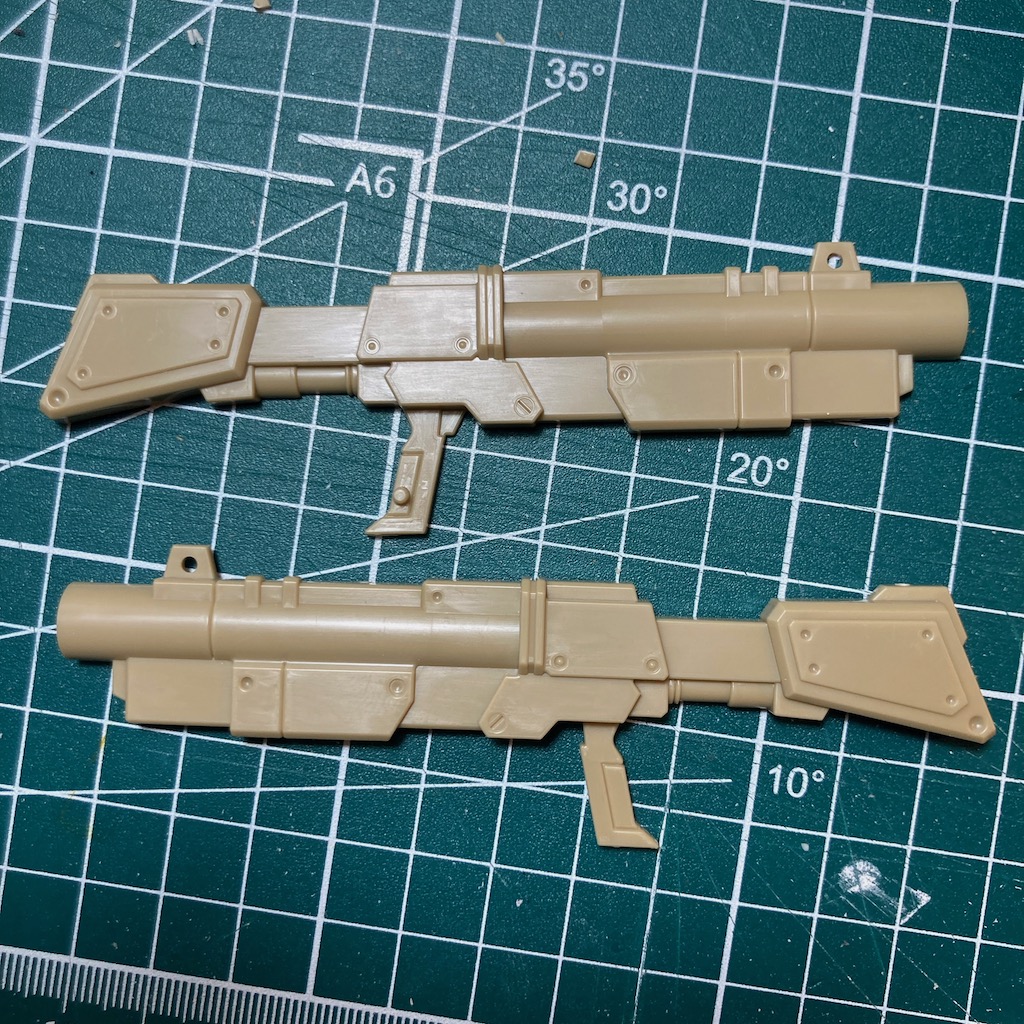
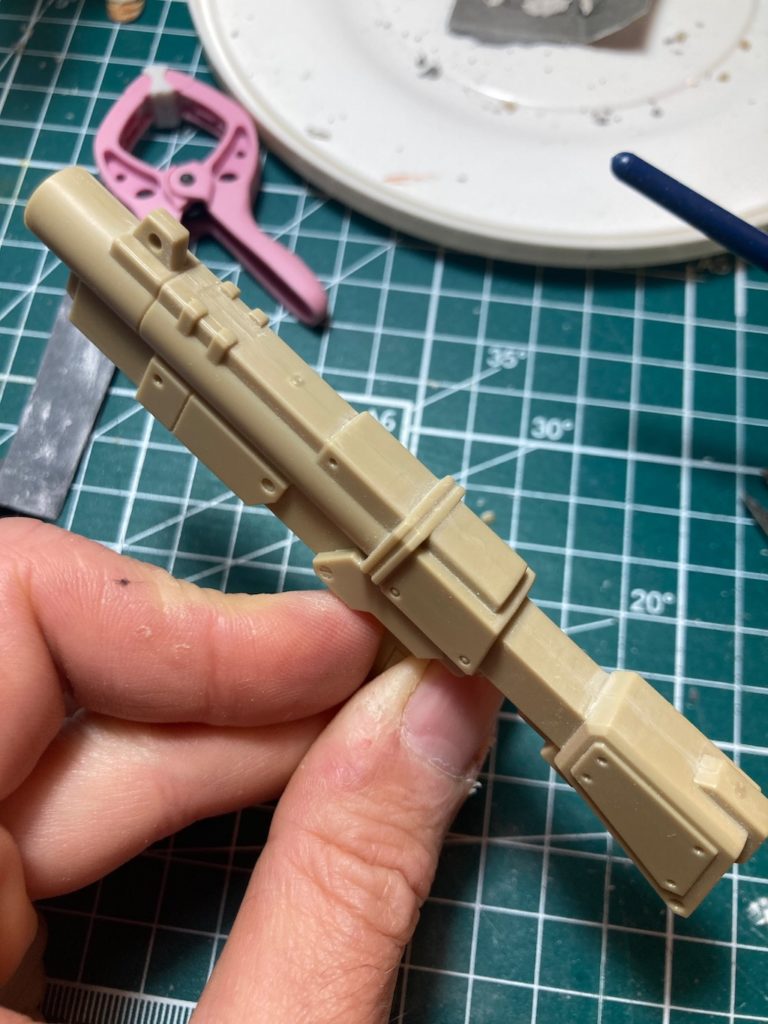
I assembled and glued the rifle, and sanded the joints.
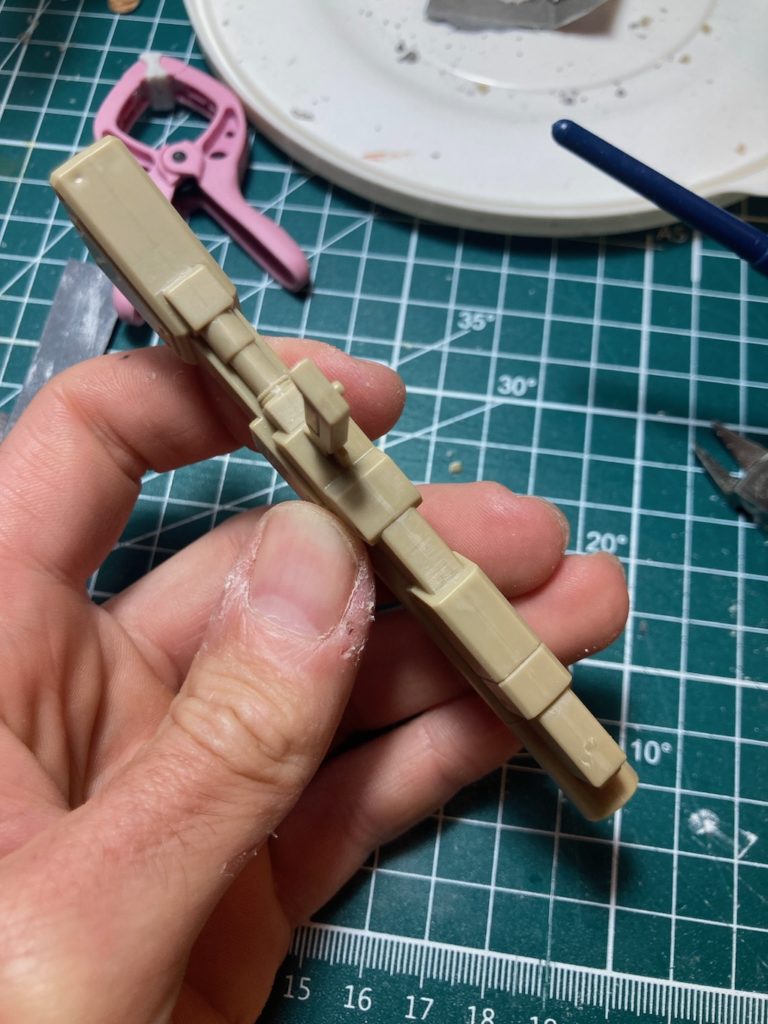
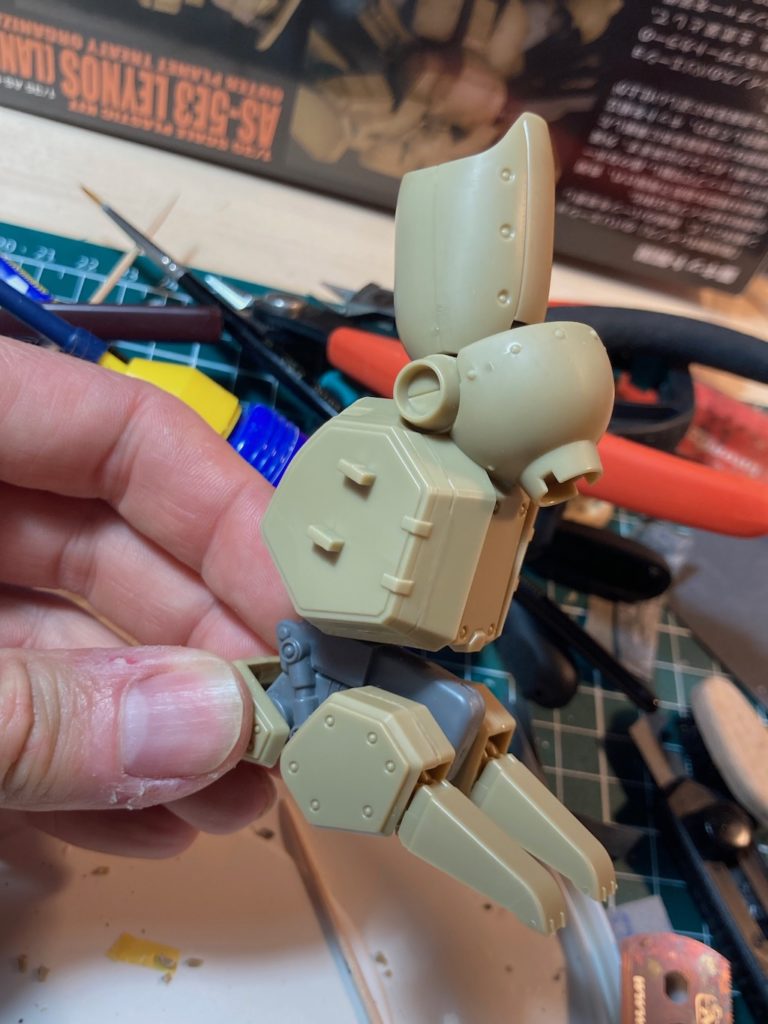
Then I worked on the legs. I modifed a few parts to enable me to easily assemble and disassemble the various parts that compose the legs. The aim was to paint the sub-assemblies in different colors, while keeping the parts glued and the joints as inconspicuous as possible.
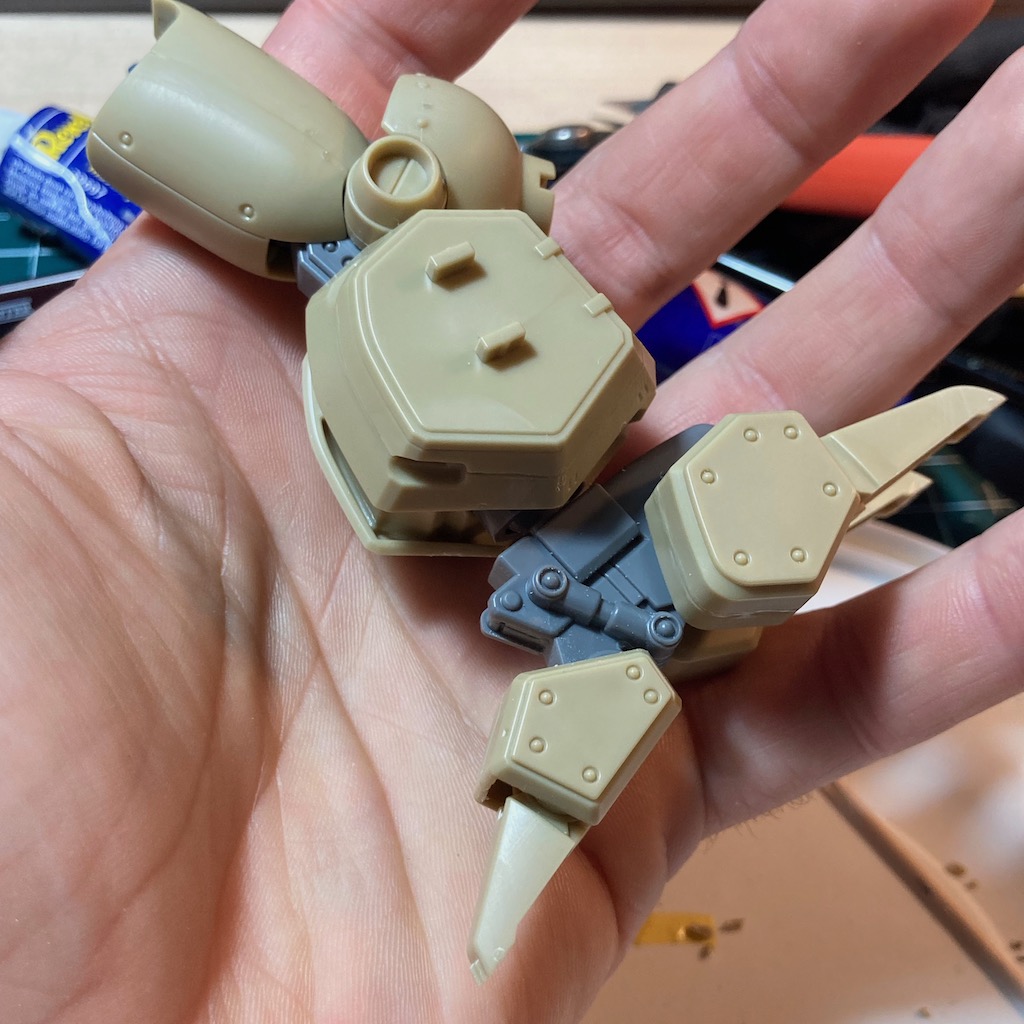
So I sawed off the legs … There’s no other way to put it
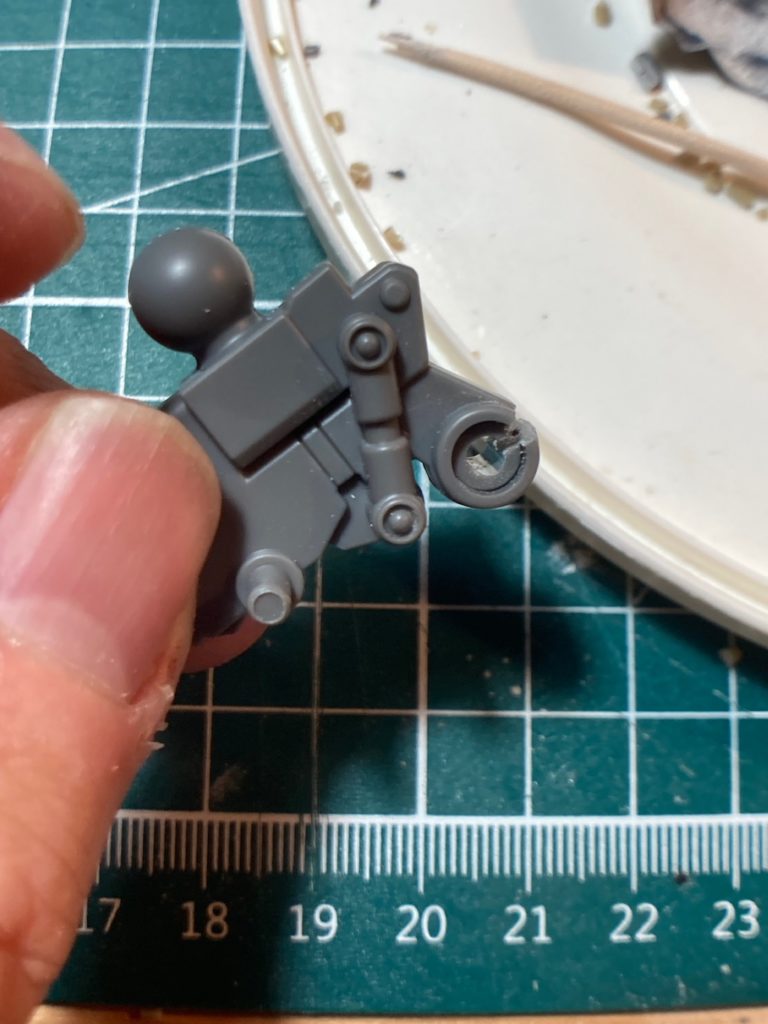
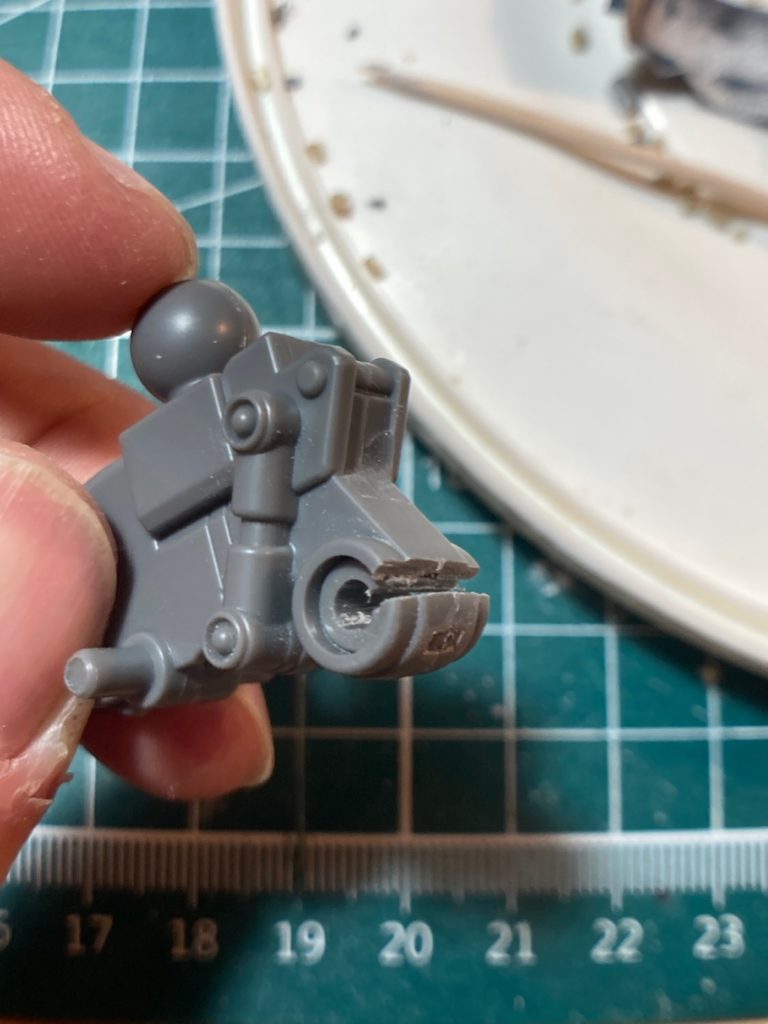
And as is often the case when I’m assembling, I forget some parts in the corner of the desk … except in this case, the parts had been glued for 24 hours.

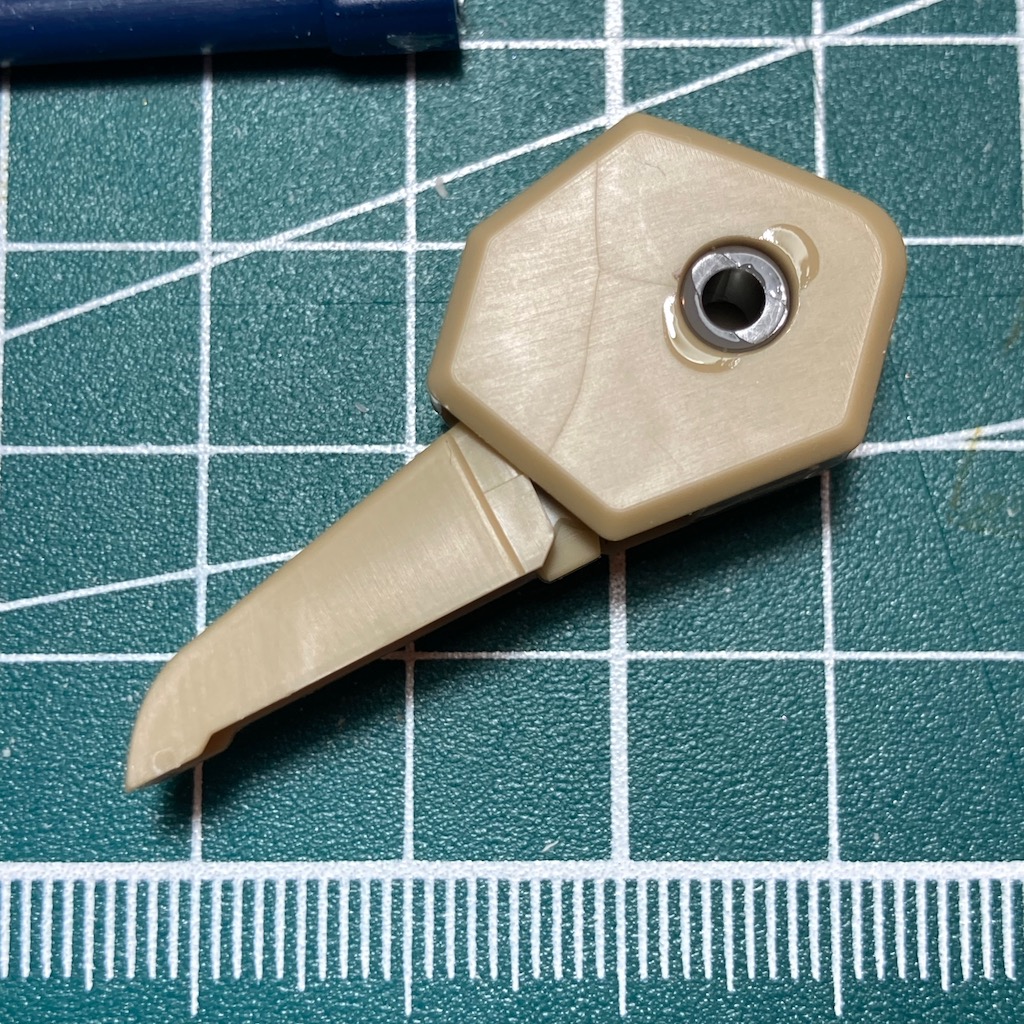
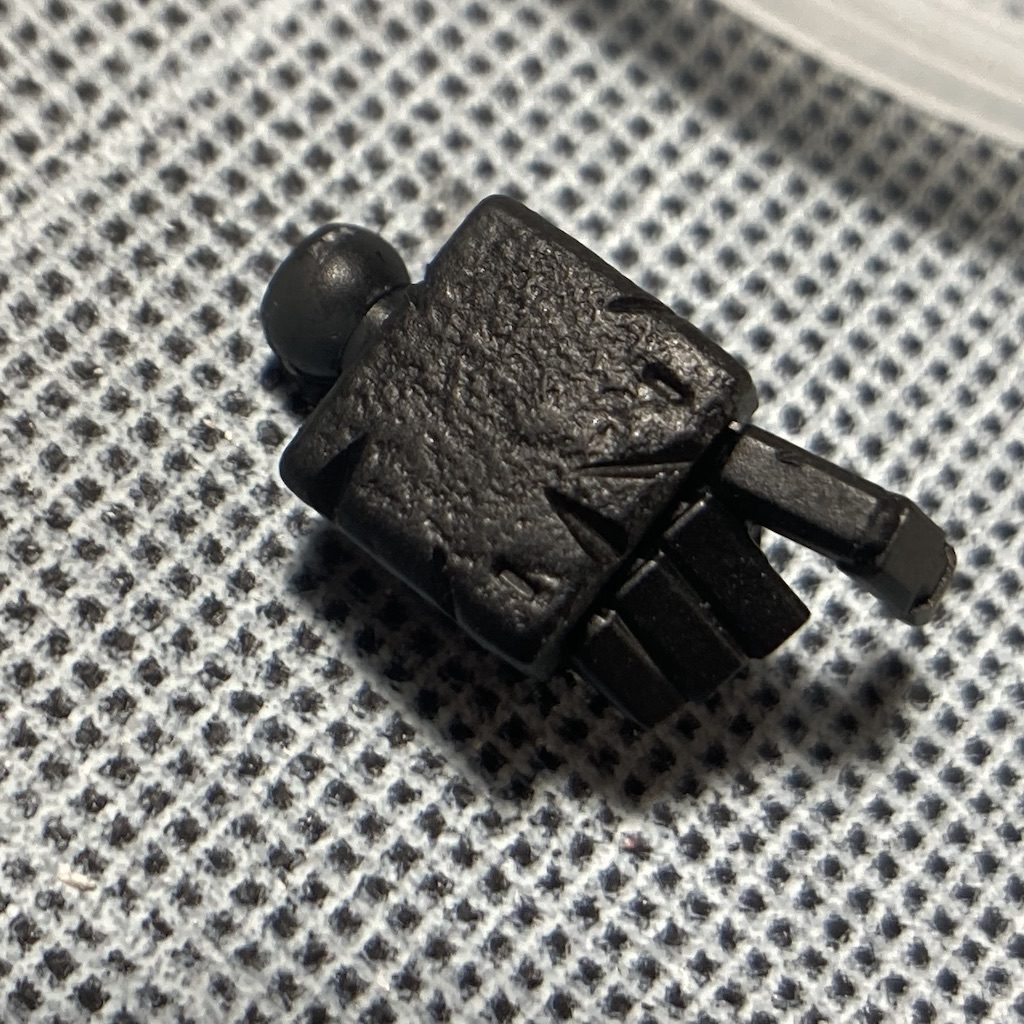
To fix this, I cut out the lugs on the grey part, then inserted it into the free slot on the foot and glued it in place.
And that’s it, the legs are finished. The thighs, knees, calves, feet and their toes can be disassembled and assembled without a hitch, and with the joints invisible (on the photo, you can see some of the joints, but it was taken before the sanding was finished).
I hope you appreciate this post on the leynos model kit which is a really nice kit.
See you soon 😉
Today, we speak about a ‘simple’ technic to creating chipping on model kits : The salt. Yes ! You’re read correctly, a simple salt to obtain a nice chipping on your gunpla. It’s a technic which work with an airbrush. I think it cannot work with brush … But I’m not sure. Maybe I will test one day.
I make a HG Jo hound model kit few month , and I wanted to obtain a heavy chipping. I decided to use only my brushes and little pieces of sponges. But this time, I decide to use the salt.
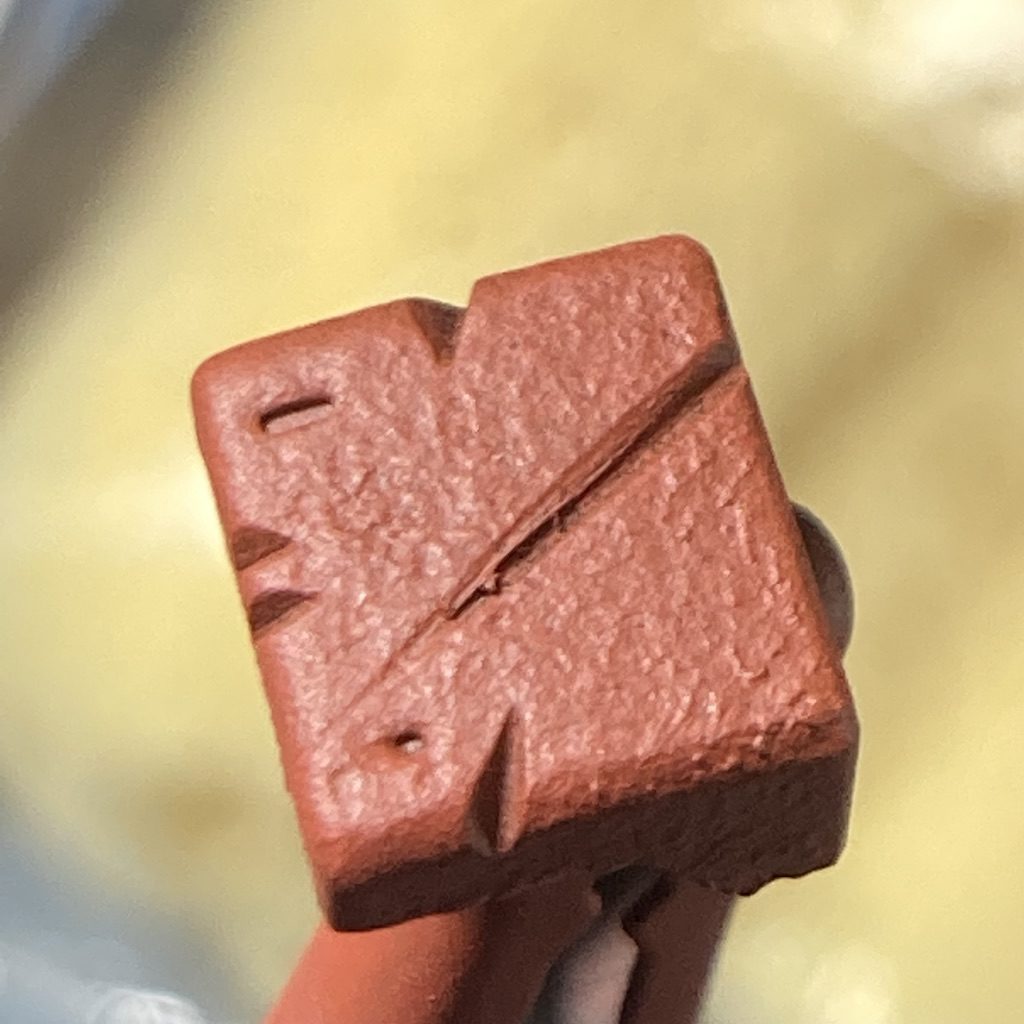
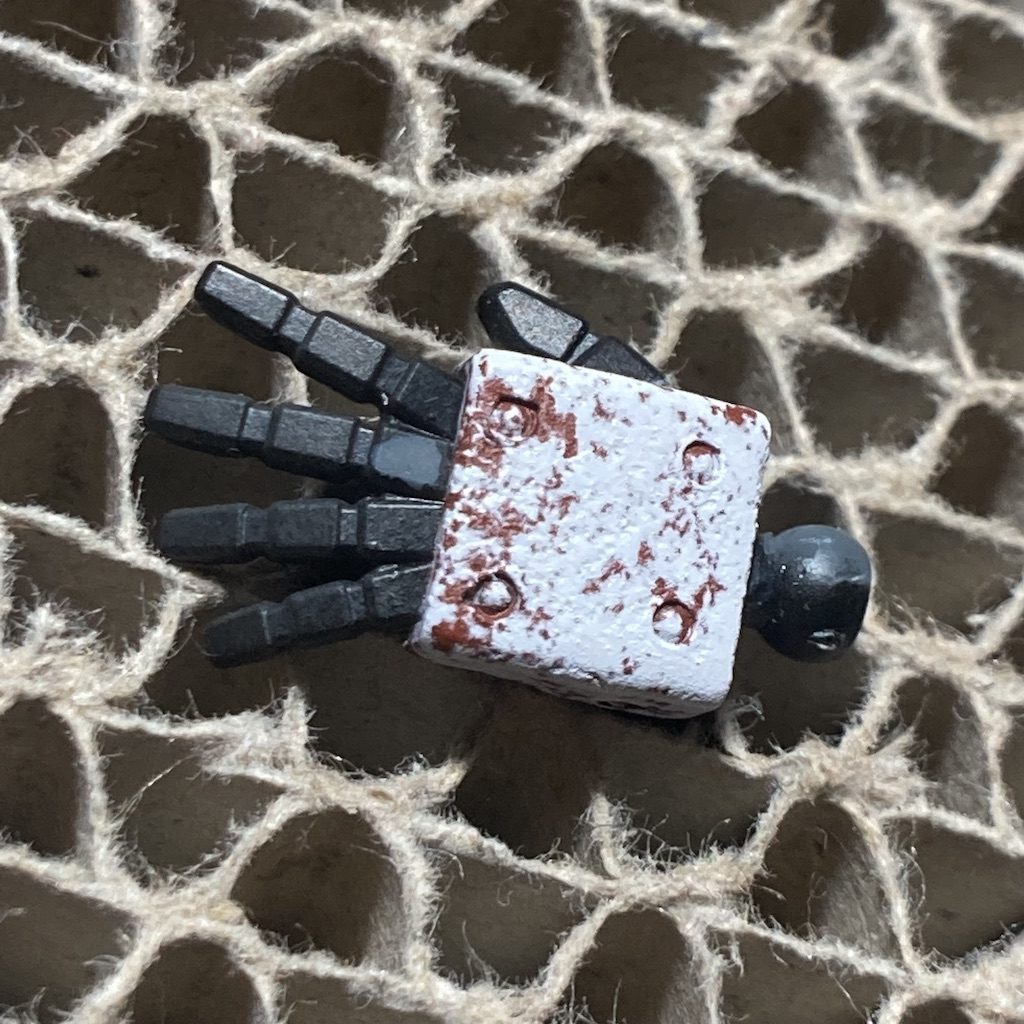
First, you need to prepare the surface of your gunpla. For the example, I use the hand of the HG RX-79 ‘Ground type’ (1/144) from « the 08th team » anime.
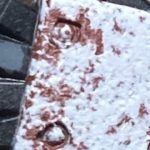
Like for a classic preparation, I use a primer. In this case, I was a black primer from Vallejo mecha color. After, I added the rust coat. I used a red/brown primer color from GreenStuffWorld. You must a really hard paint because we will be ‘violent’ in a future step.
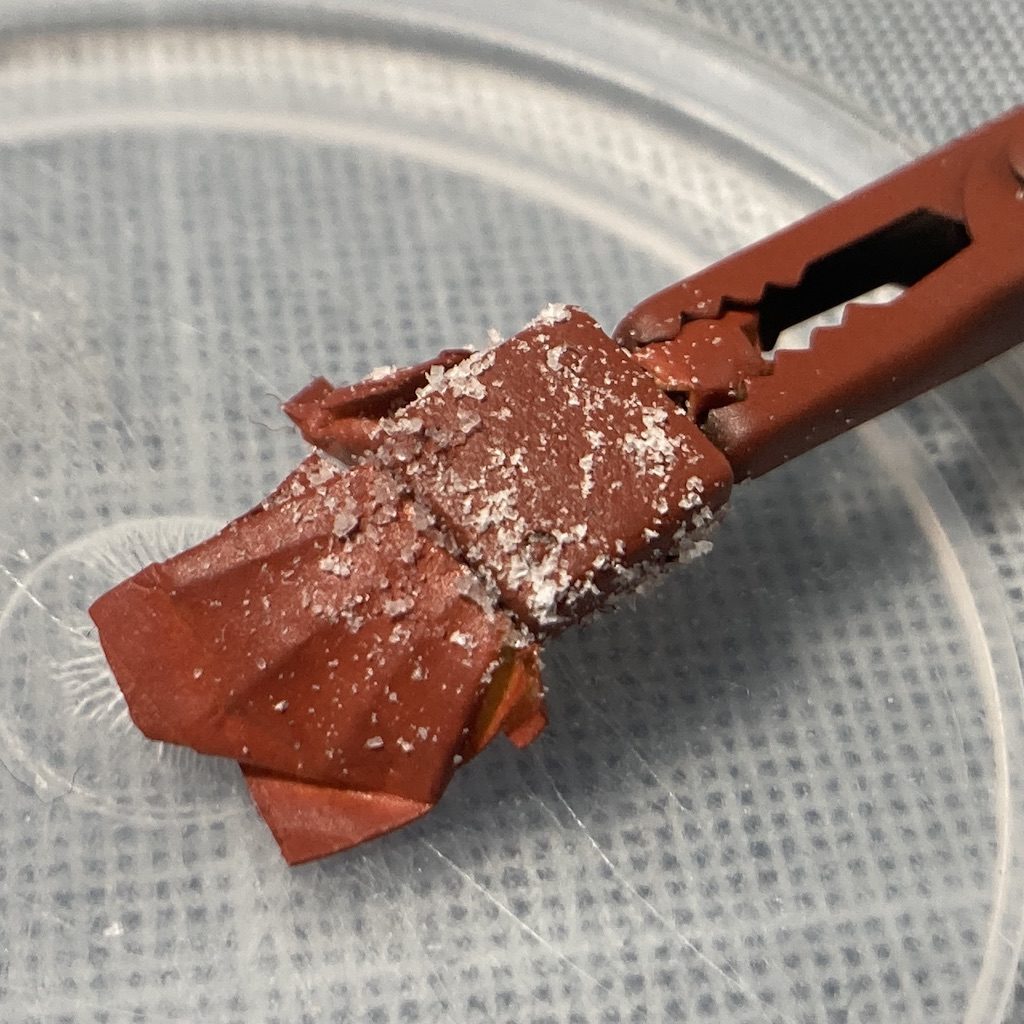
Now, it’s time to use the salt.
Put some water gently at the surface of the piece where you want obtain chipping (often on the edges). Personnaly, I used a little sponge. Then put the salt directly on the piece like it’s raining salt. It will be trap by the water. To obtain various effect, try to use different sizes of salt. In my example, I used a really fine salt to try to respect scale.
Some advises :
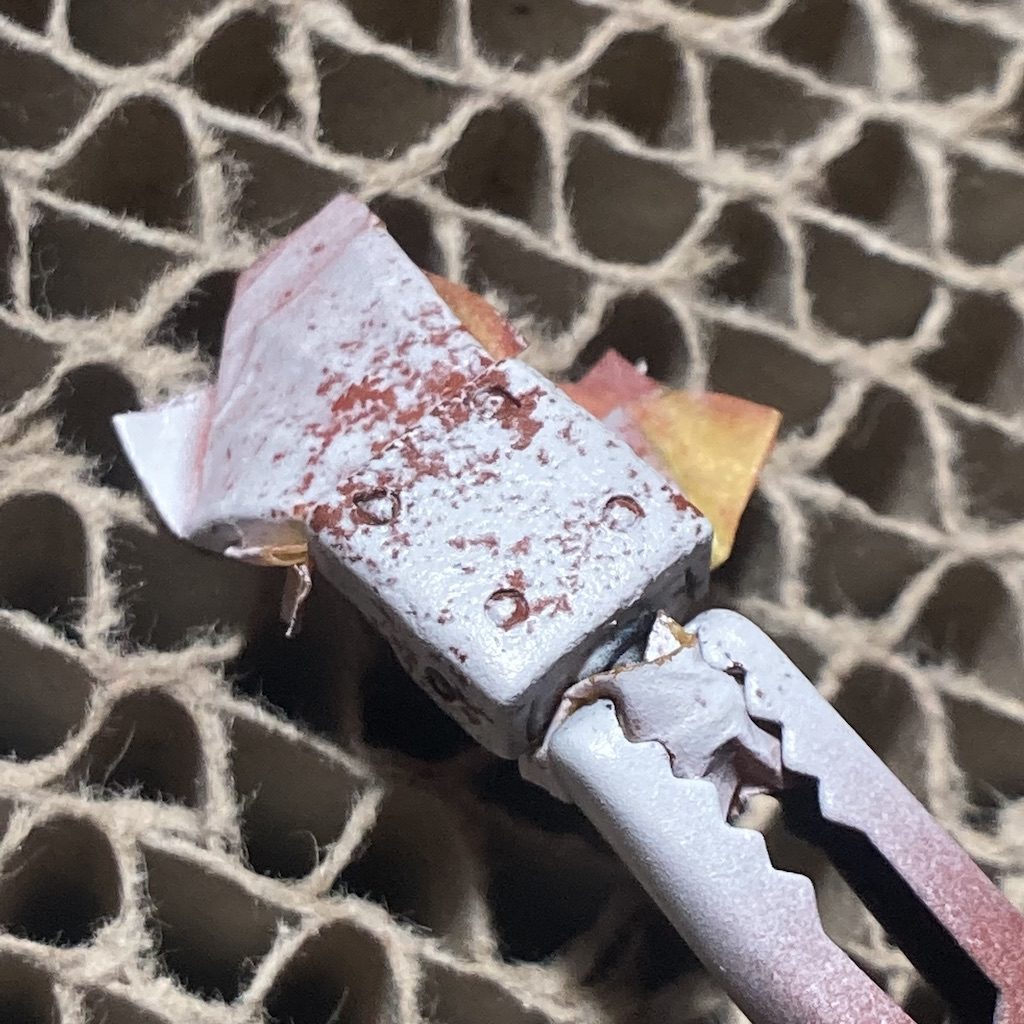
Paint your part as usual, the salt will work like a mask. You can use a pre-shading if you want. But becareful to the pressure you use on your airbrush. If the pressure is too high, the salt will be remove. On this example, I worked with the Mr. color white C1 diluated at 50% and applied at 1bar.
To finish, You must remove the salt. I used a toothbrush with some water and I brush … brush … and brush again. If you remember, I said you must use a hard and dry paints. That is the moment where you’re going to see if your paint it’s good.
Salt chipping on gunpla is a good way to have random chips on a your paint. I think it’s a simple technic which give good results.
See you soon 😉
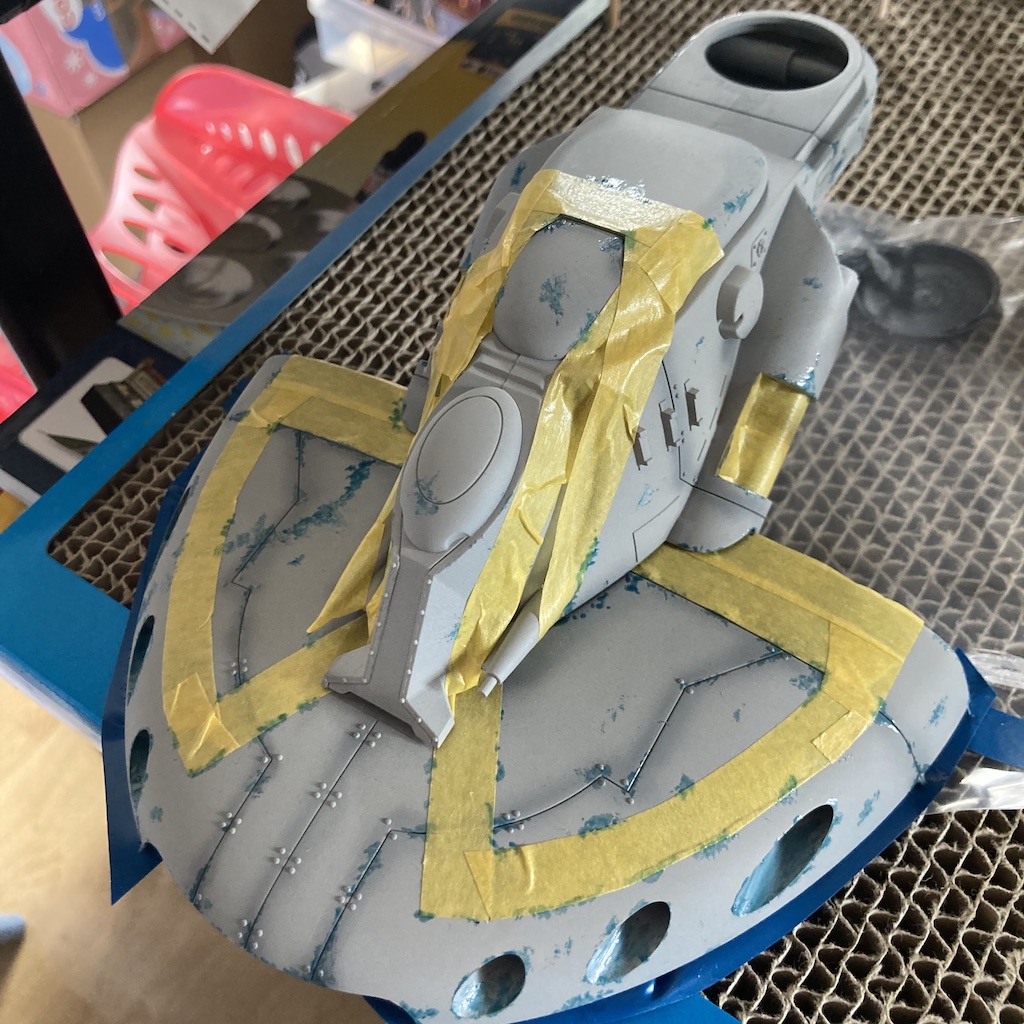
I put my MG Exia on the side for few weeks. I prefer finish this star wars legion model kit : AAT char. You can see this vehicule in episode 1 and the animated serie clone wars.
It’s for me the occasion to try a lot of new technics and paints. For example, I used liquid mask with a succession of different colors for the chipping effect. I use the Mr. Color paints which is just … amazing. Moreover, this product is really durable and strong, I hope the color will stay like that.
It’s not finish but the most important is to take a lot of fun.
I put all the photos in his own gallery.
See you soon 😉