Category Archives: hobby

Leynos model kit #02

I made a little progress on the Leynos model kit from PLUM.

If you wanna see the work made before : Previously
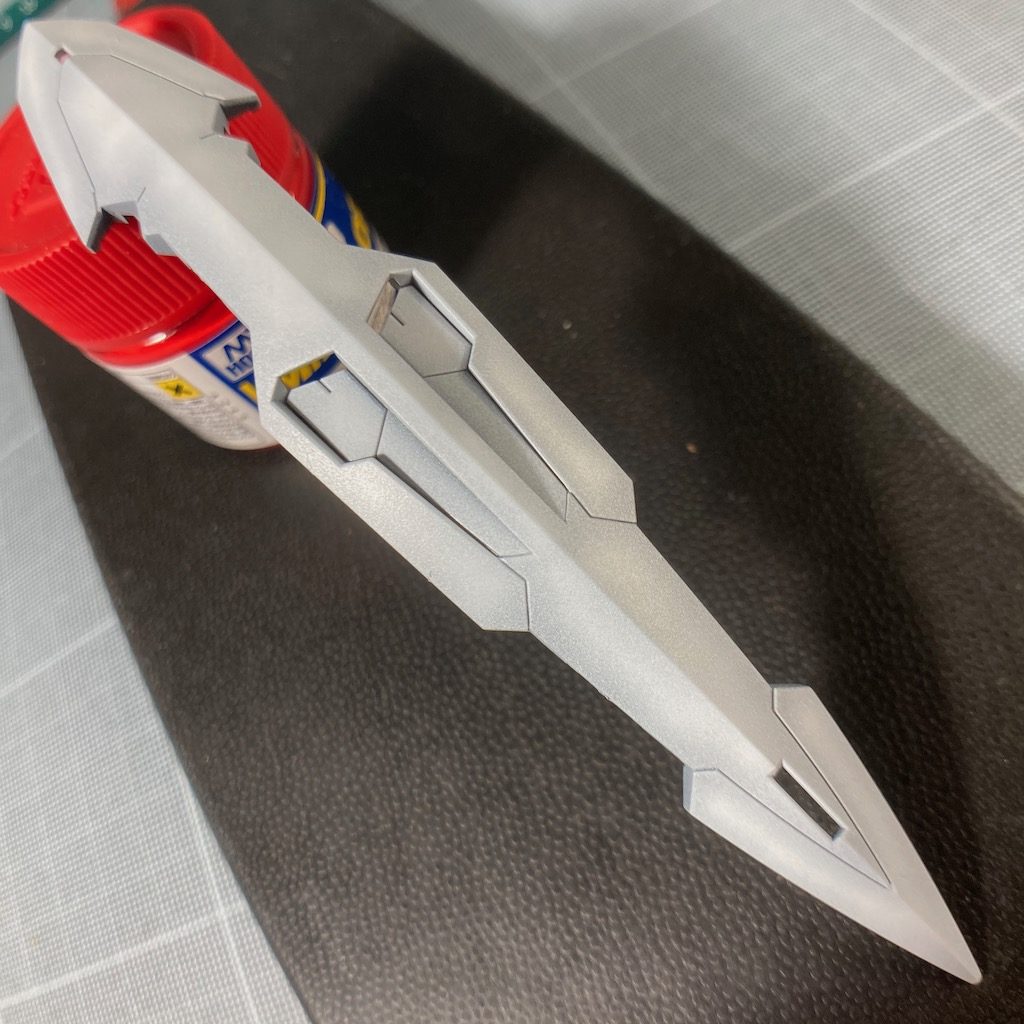
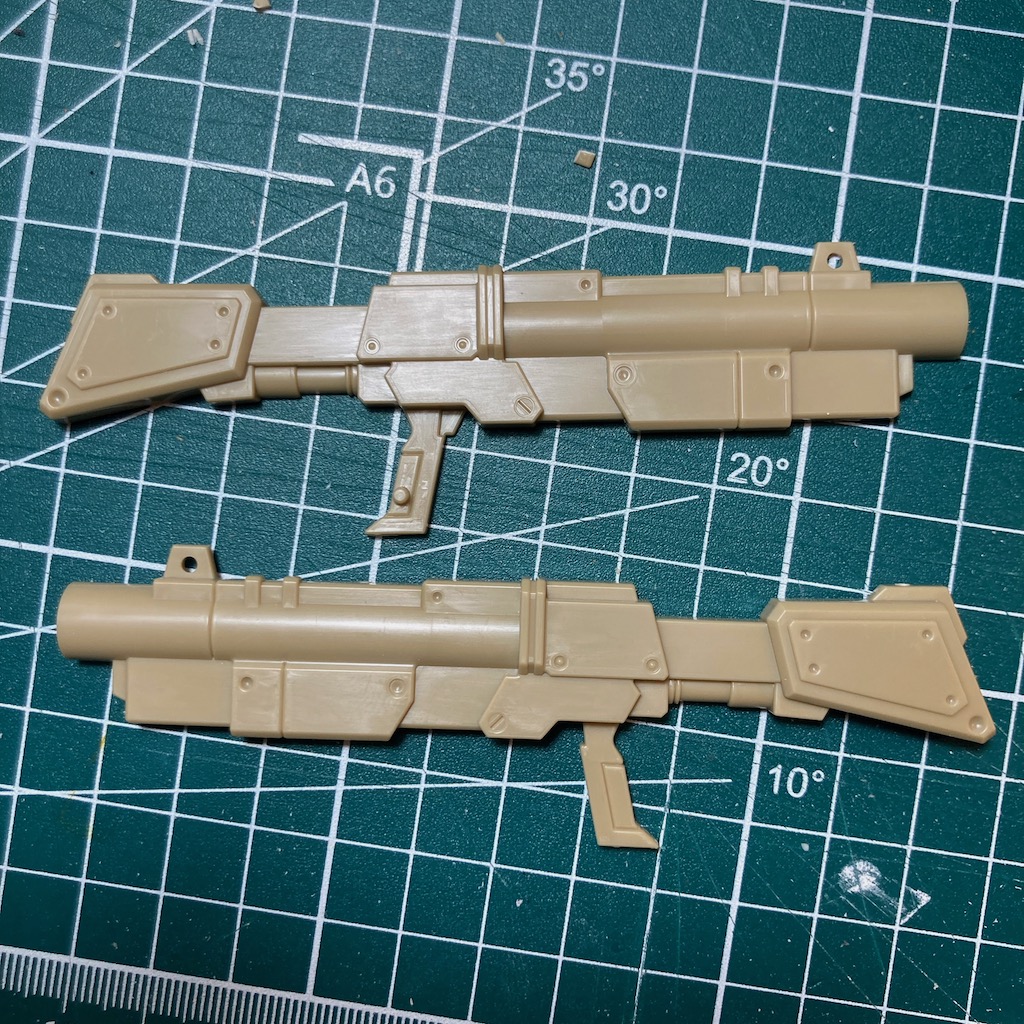
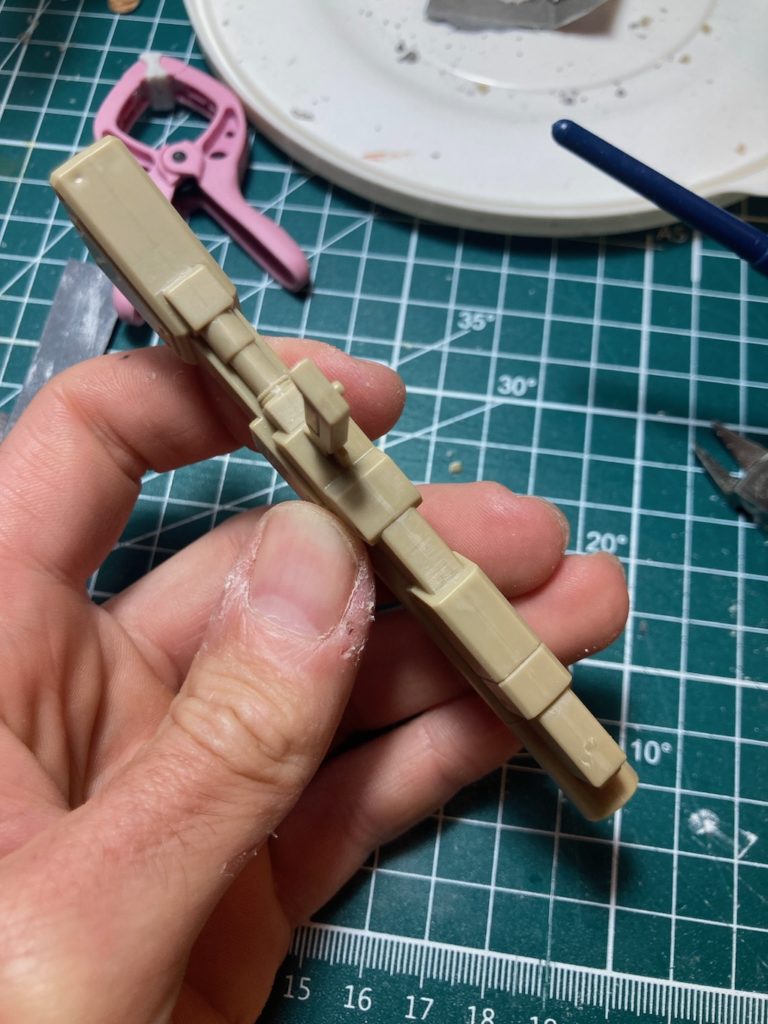
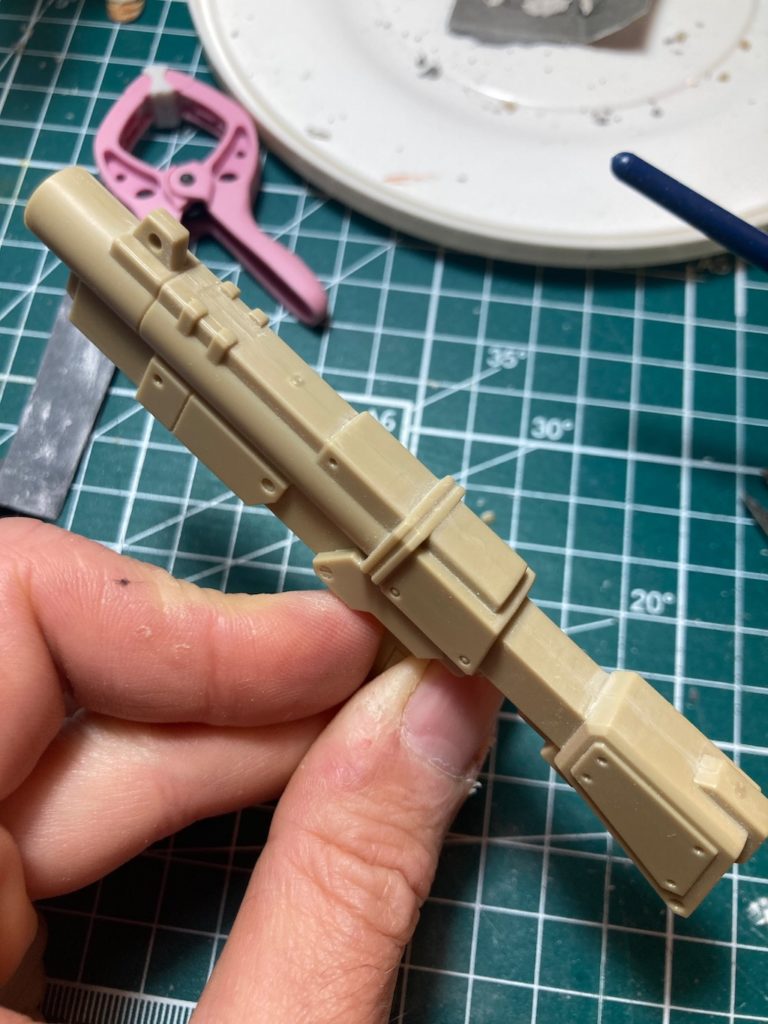
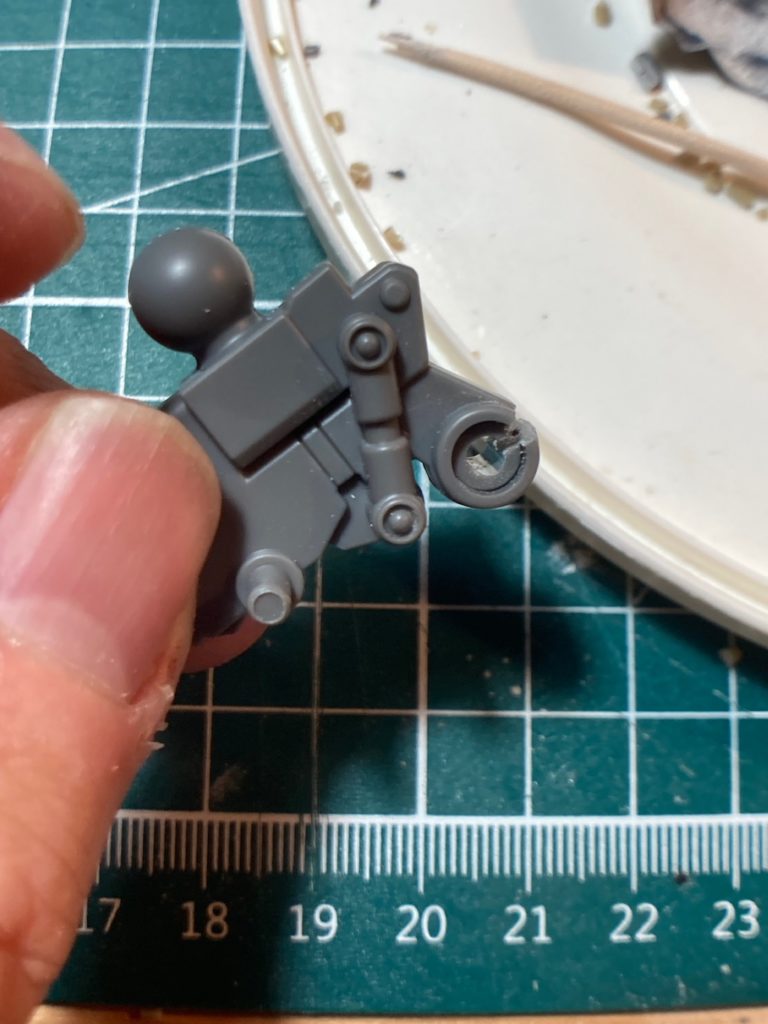
The Leynos’s rifle

I assembled and glued the rifle, and sanded the joints.

Leynos rifle
Leynos rifle
Leynos rifle

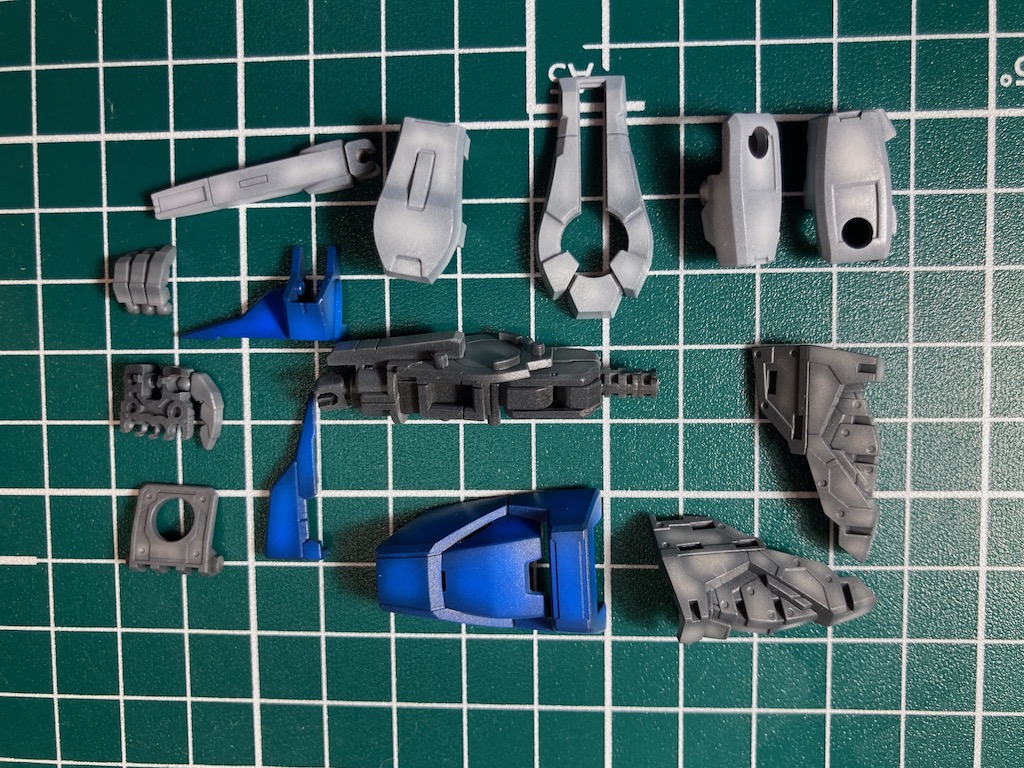
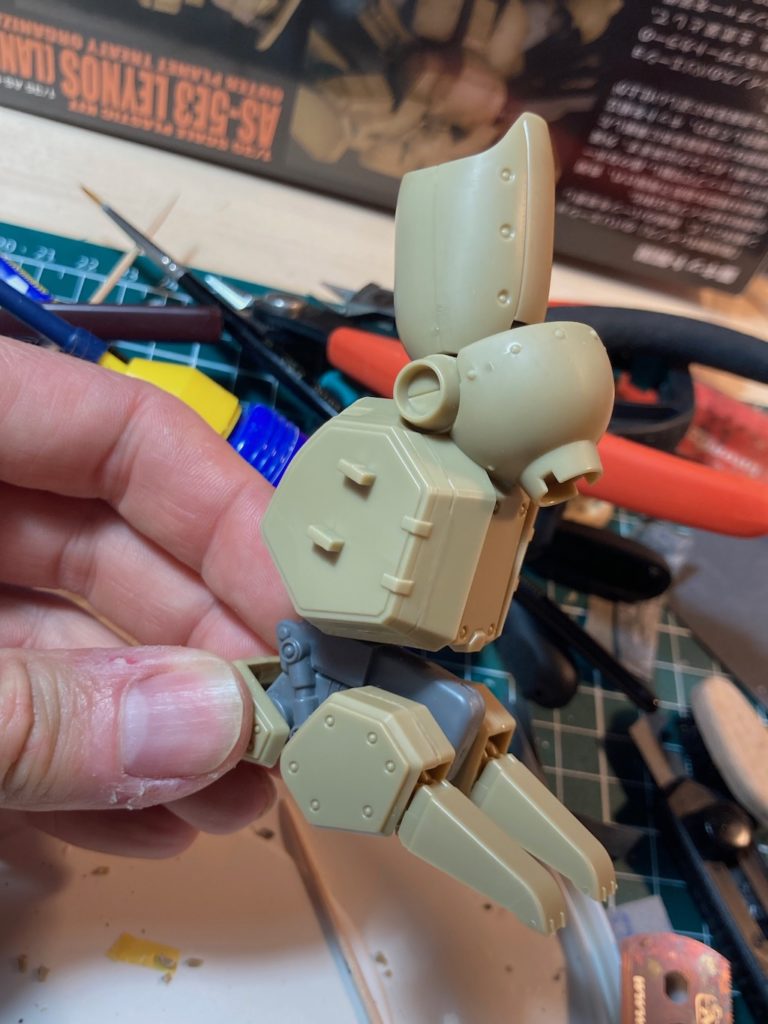
Then I worked on the legs. I modifed a few parts to enable me to easily assemble and disassemble the various parts that compose the legs. The aim was to paint the sub-assemblies in different colors, while keeping the parts glued and the joints as inconspicuous as possible.

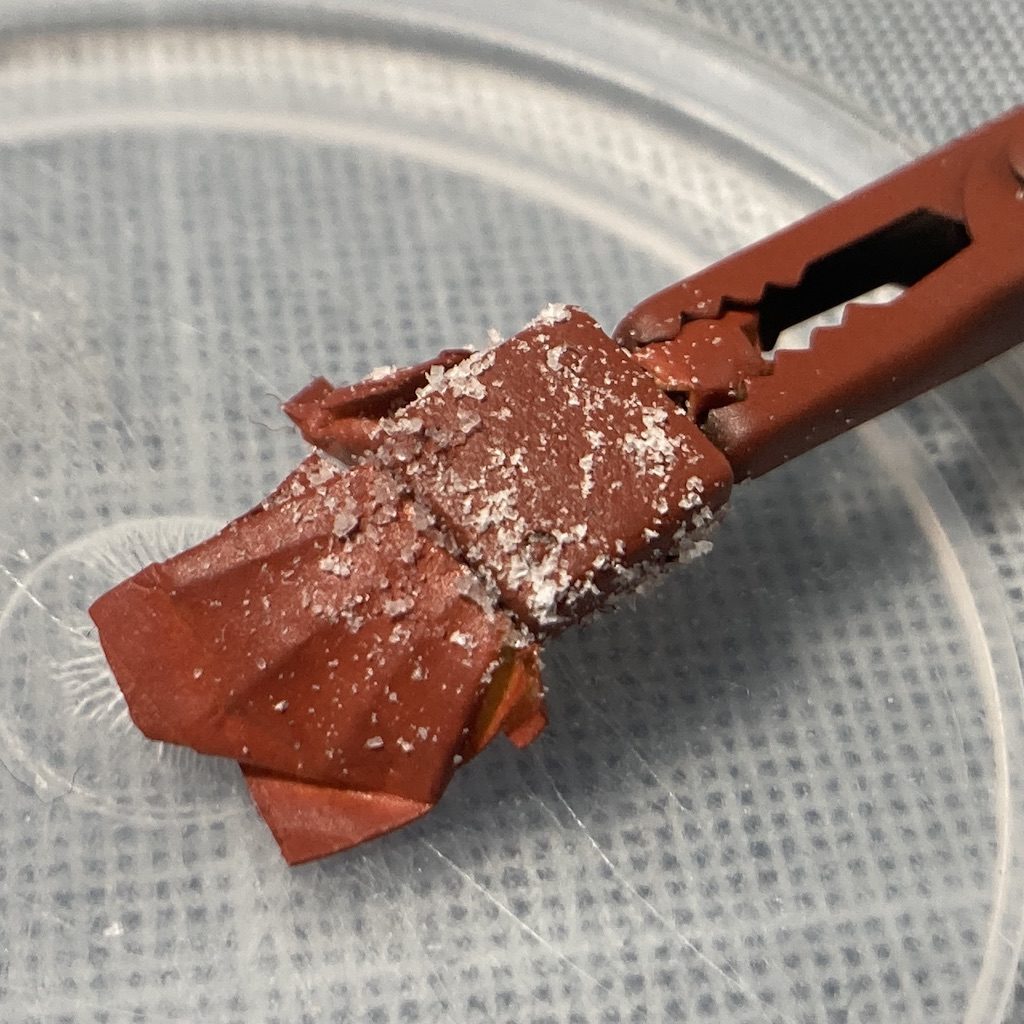
So I sawed off the legs … There’s no other way to put it

Leynos feet
Leynos feet

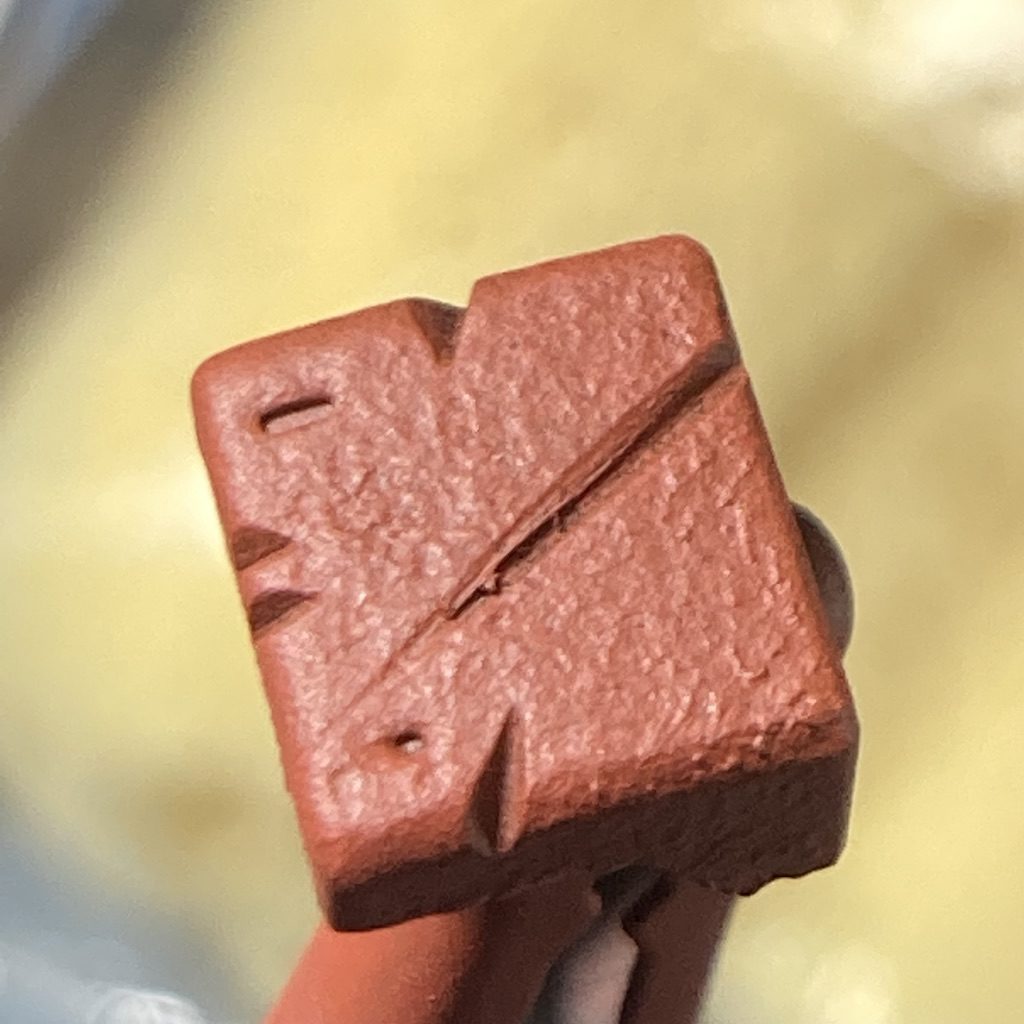
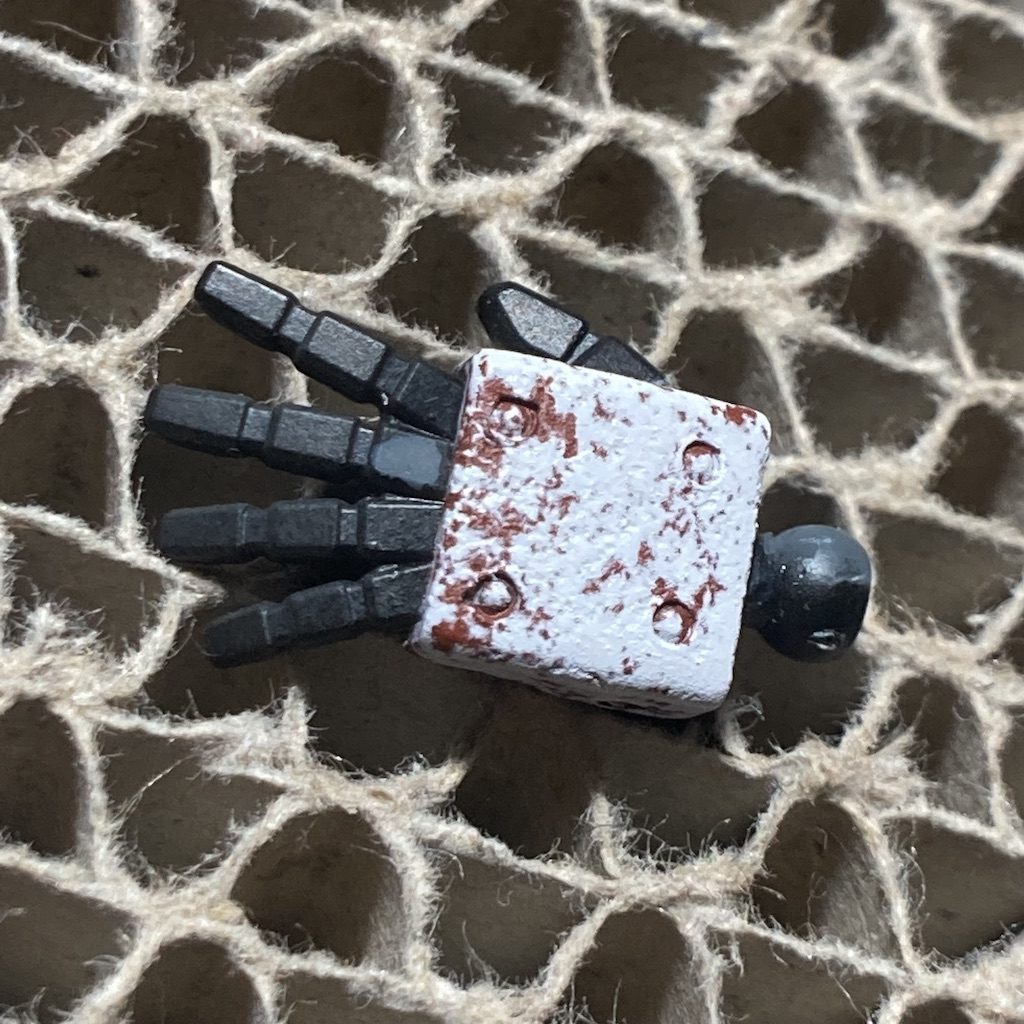
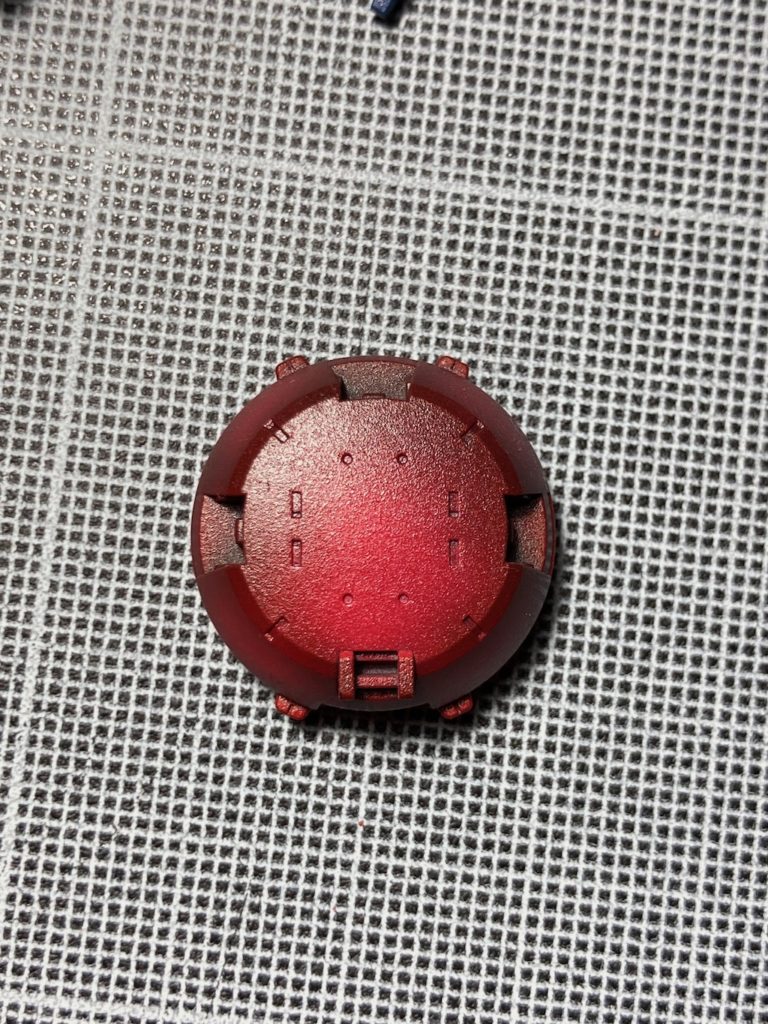
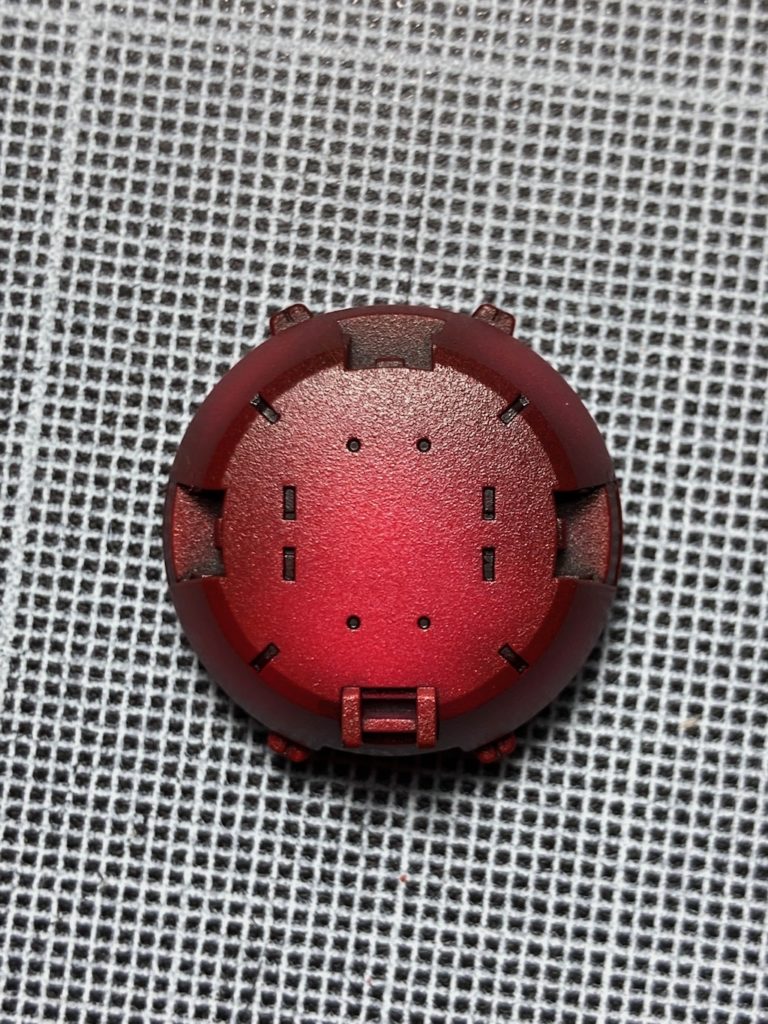
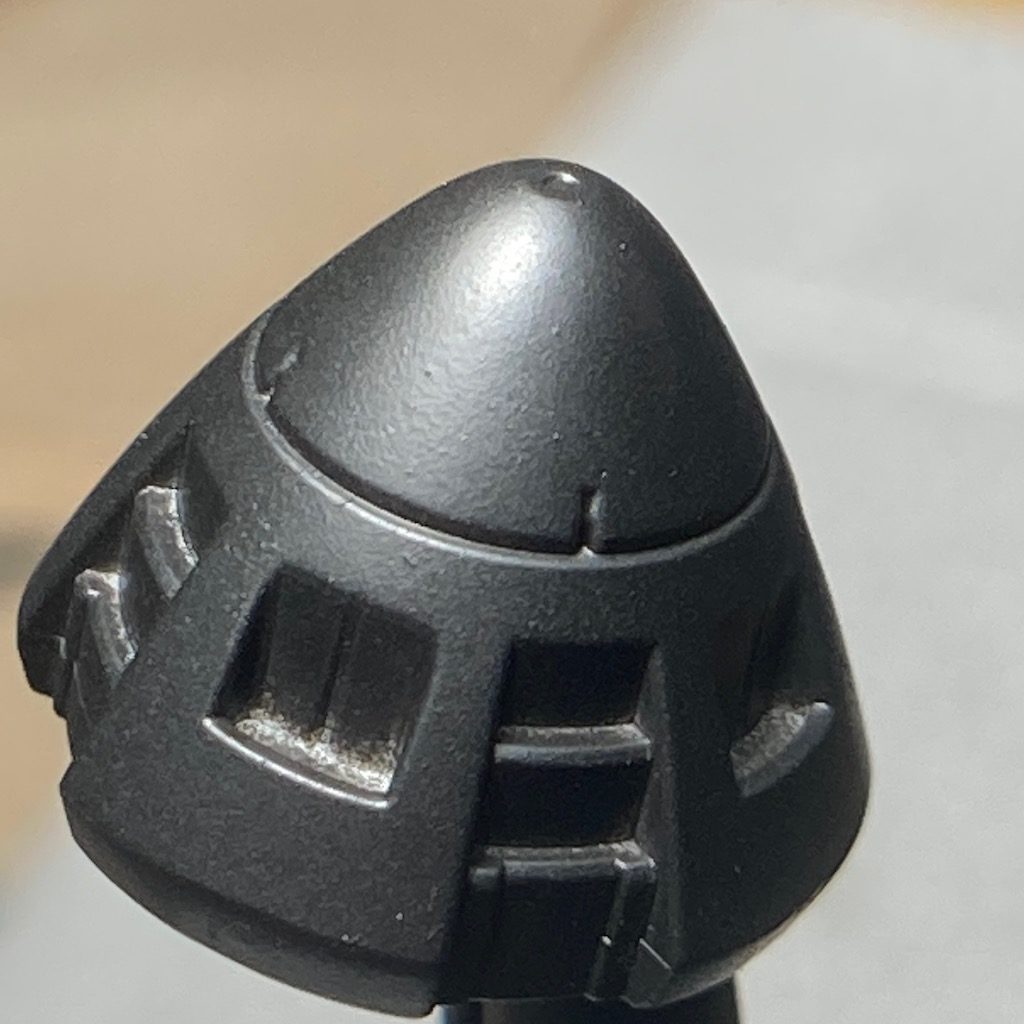
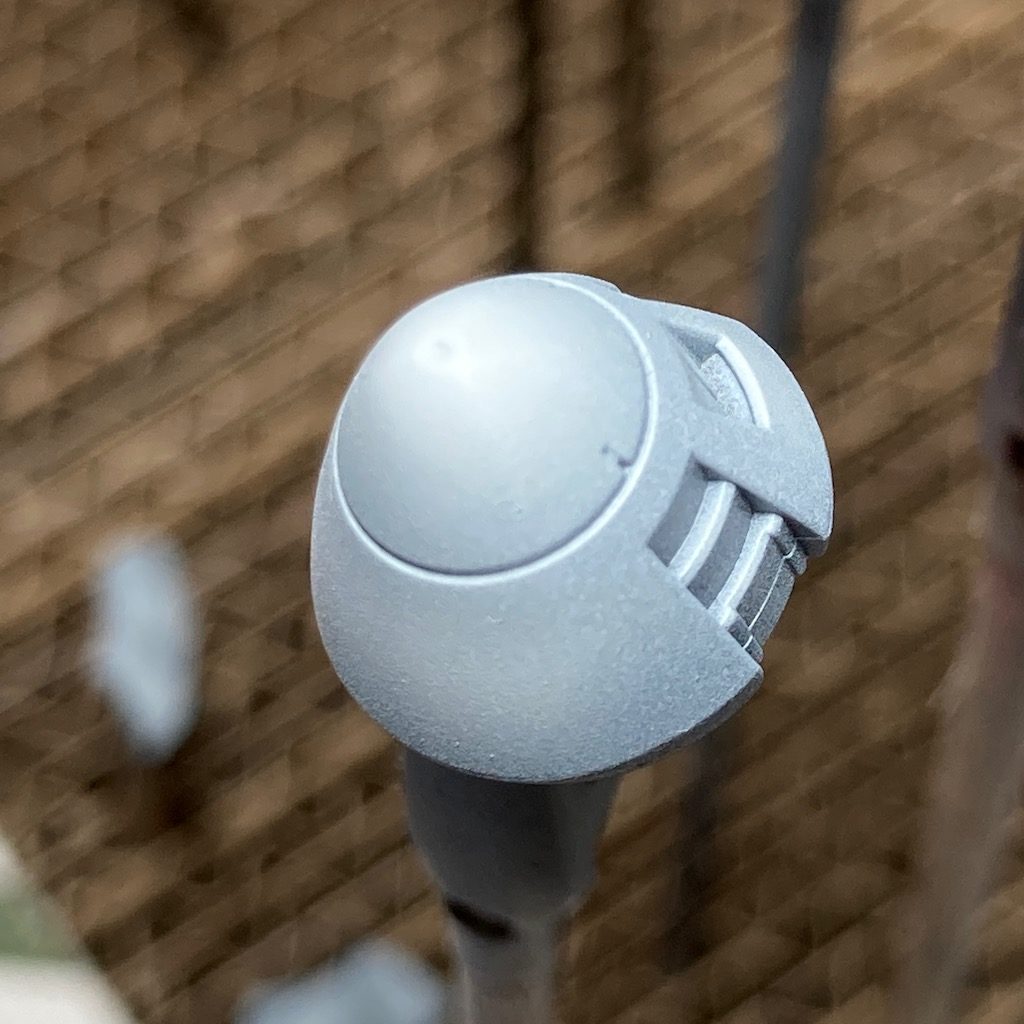
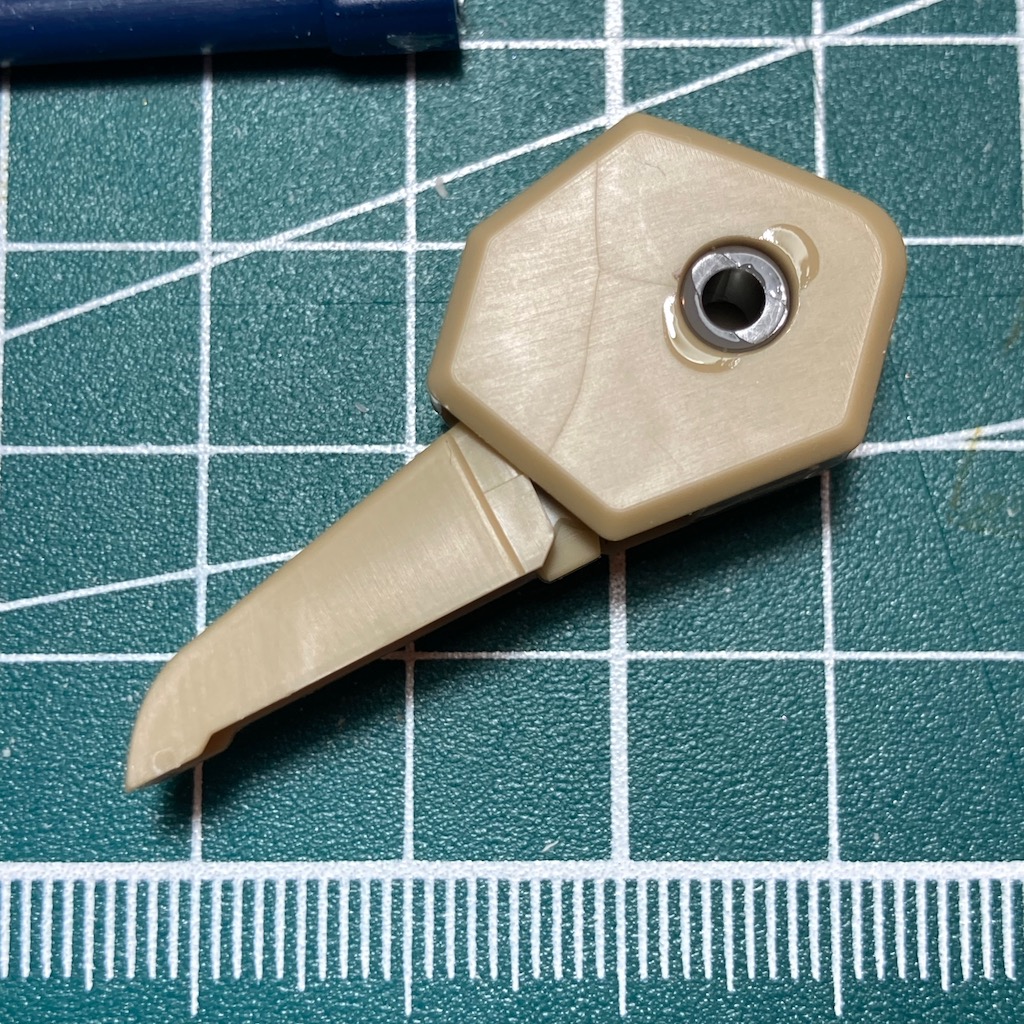
Problem with the feet : How to insert articulation on a gunpla

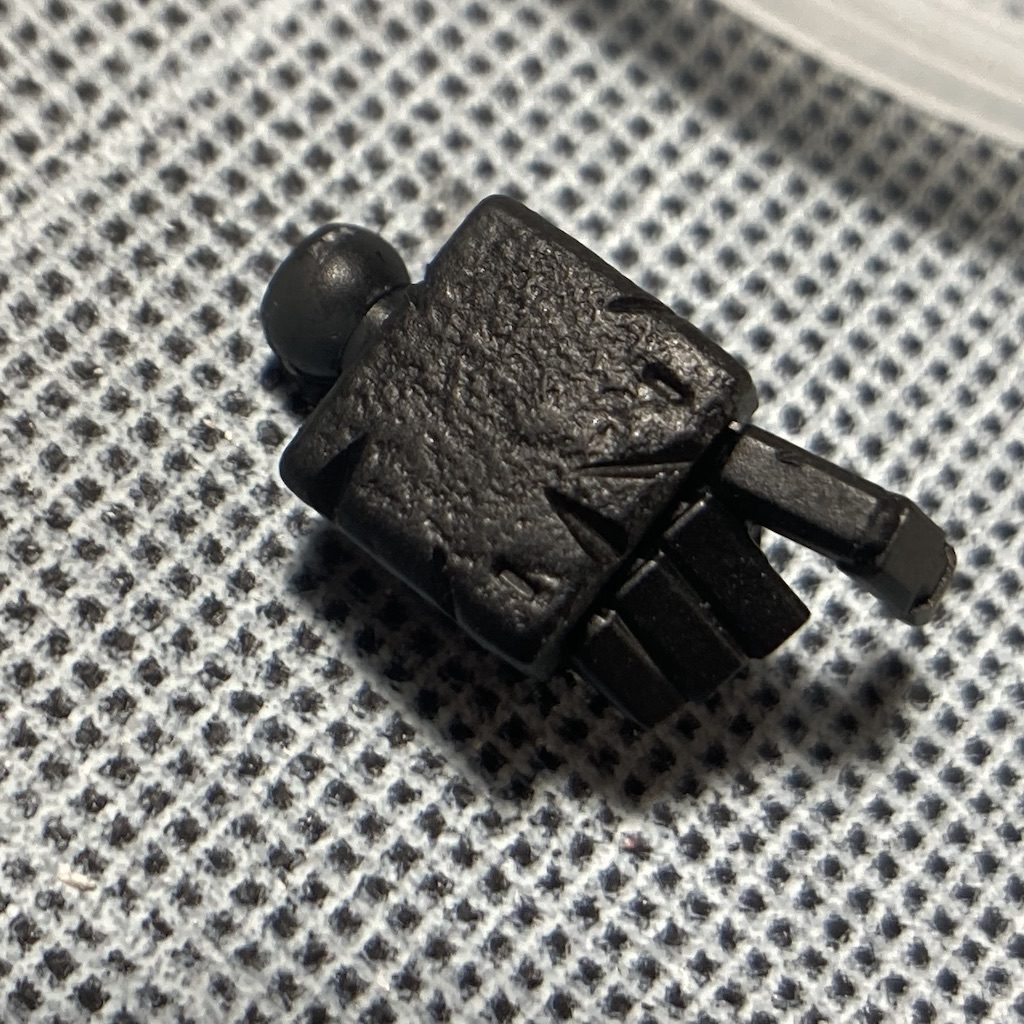
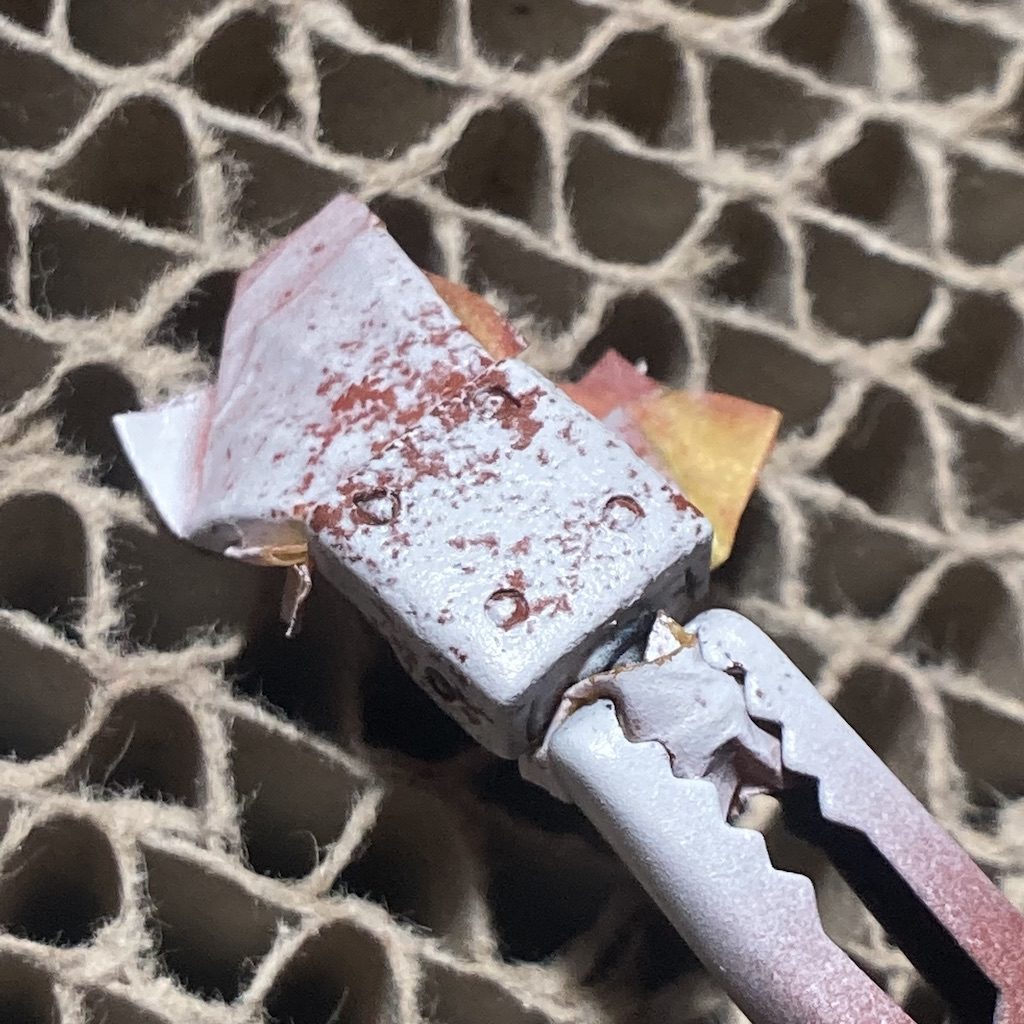
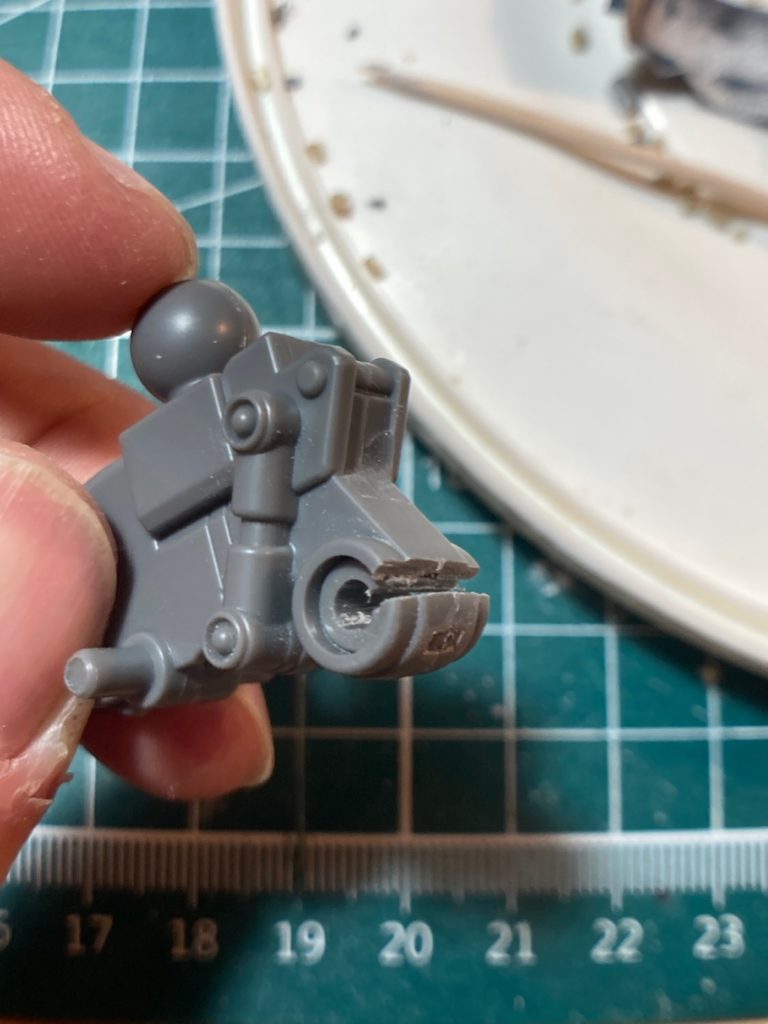
And as is often the case when I’m assembling, I forget some parts in the corner of the desk … except in this case, the parts had been glued for 24 hours.

Feet of the Leynos

To fix this, I cut out the lugs on the grey part, then inserted it into the free slot on the foot and glued it in place.

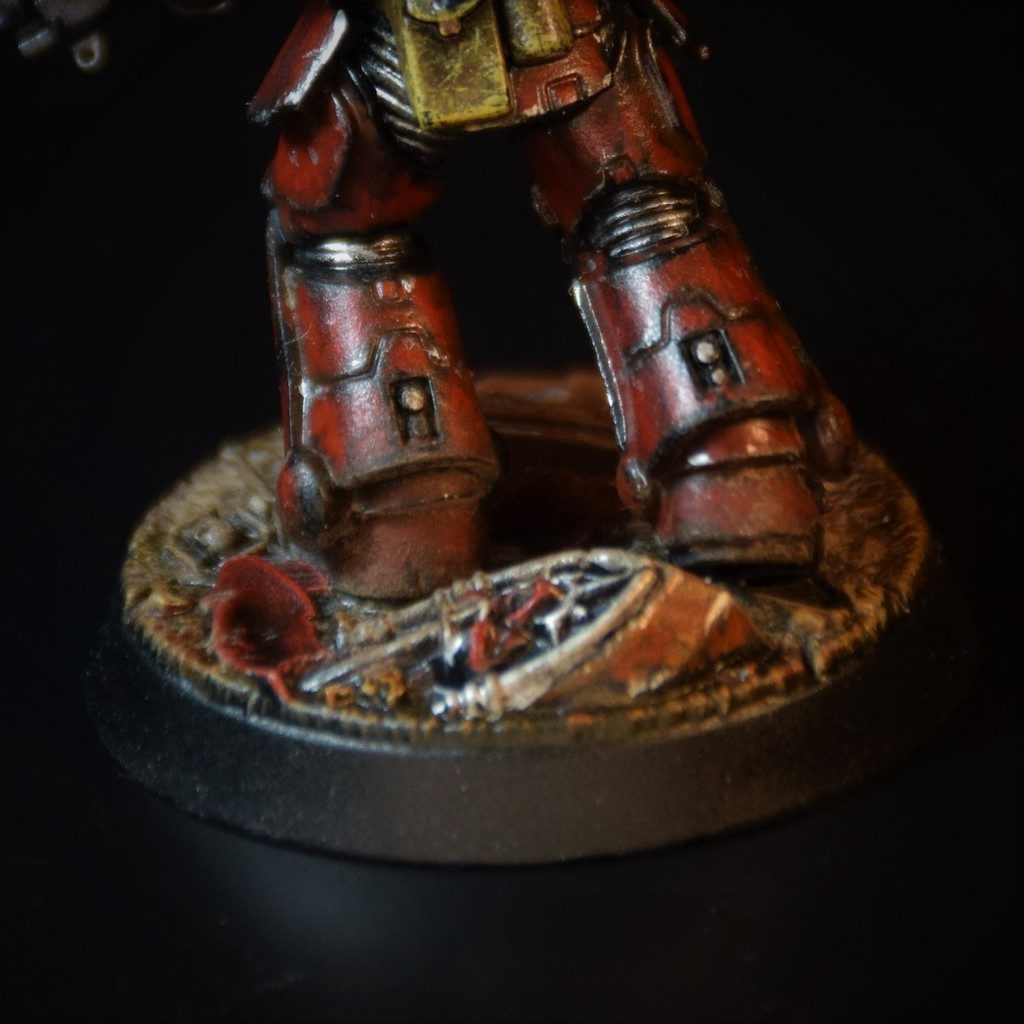
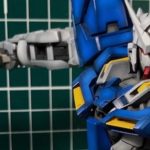
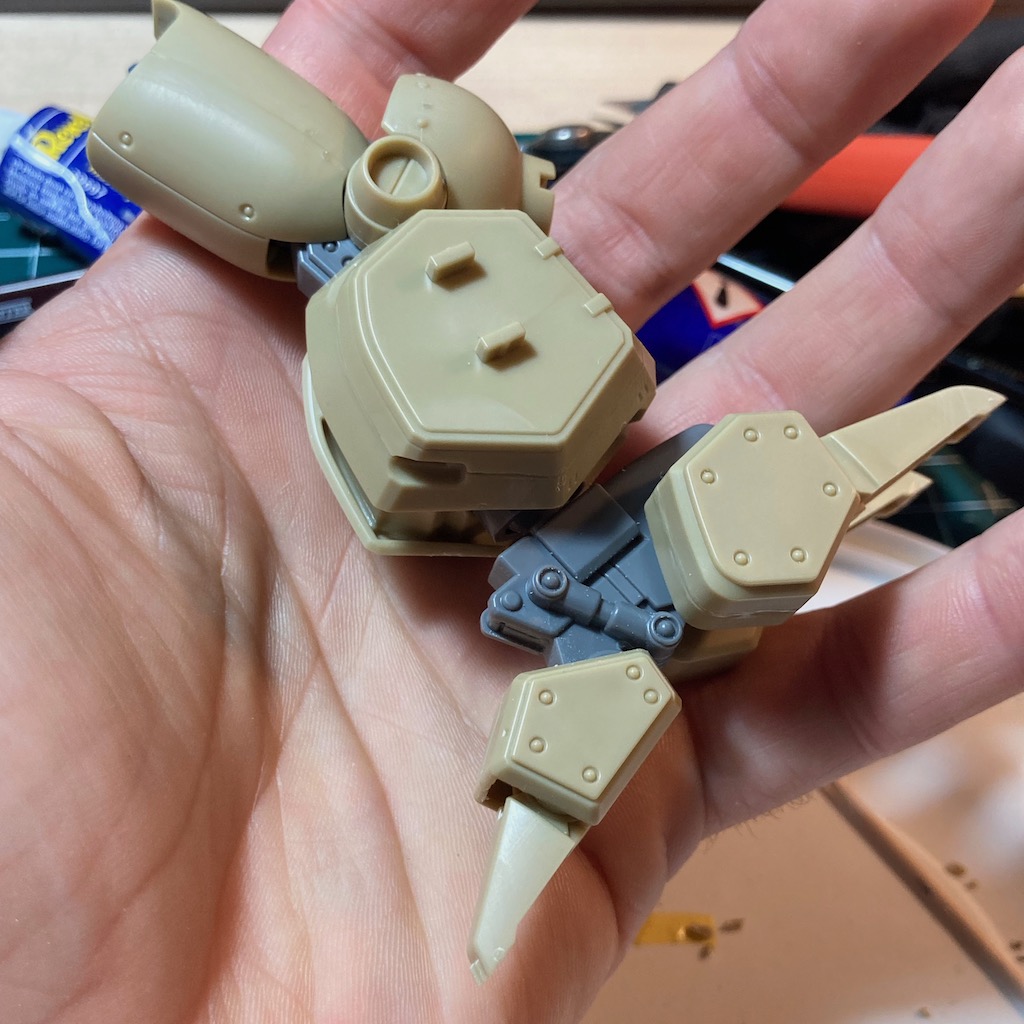
Final result : The legs

And that’s it, the legs are finished. The thighs, knees, calves, feet and their toes can be disassembled and assembled without a hitch, and with the joints invisible (on the photo, you can see some of the joints, but it was taken before the sanding was finished).

I hope you appreciate this post on the leynos model kit which is a really nice kit.

See you soon 😉

[War40k] Blood Angel

After a lot of mechas, I take few times to paint a warhammer 40,000 figurine.

Someone offer me 2 space marines, so I built one for fun. For the color scheme, I chose the blood angels.

See you soon 😉

Blood angel by Flashfan981
Some details of the socle

« The mine sweeper » (1/144 HG RX-79 G)

« An old RX-79 mobile suit that had been lying around in the forest for a long time. It was fix to go and help out those partner of the 8th team who fell in battle in the guerrilla zones. It has suffered a lot during its career but it still works. It can also be used as a support unit with its 180mm gun.« 

[ngg src= »galleries » ids= »2″ display= »basic_thumbnail » thumbnail_crop= »0″]

Its dedicated gallery : https://flashfan981.com/index.php/the-mine-sweeper-1-144-hg-rx-79-g/

Salt technic on gunpla

Today, we speak about a ‘simple’ technic to creating chipping on model kits : The salt. Yes ! You’re read correctly, a simple salt to obtain a nice chipping on your gunpla. It’s a technic which work with an airbrush. I think it cannot work with brush … But I’m not sure. Maybe I will test one day.

I make a HG Jo hound model kit few month , and I wanted to obtain a heavy chipping. I decided to use only my brushes and little pieces of sponges. But this time, I decide to use the salt.

Prepare your model

First, you need to prepare the surface of your gunpla. For the example, I use the hand of the HG RX-79 ‘Ground type’ (1/144) from « the 08th team » anime.

Like for a classic preparation, I use a primer. In this case, I was a black primer from Vallejo mecha color. After, I added the rust coat. I used a red/brown primer color from GreenStuffWorld. You must a really hard paint because we will be ‘violent’ in a future step.

The Salt technic

Now, it’s time to use the salt.

Put some water gently at the surface of the piece where you want obtain chipping (often on the edges). Personnaly, I used a little sponge. Then put the salt directly on the piece like it’s raining salt. It will be trap by the water. To obtain various effect, try to use different sizes of salt. In my example, I used a really fine salt to try to respect scale.

Some advises :

  • Don’t forget to protect the parts where you do not want salt.
  • You can do that directly in your kitchen … because you’re going to salt everywhere … Believe me.
  • WAIT ! To paint, you need to have a dry salt, so wait ! … 8 or 12h in a dry place ?
It’s seems to be dirt, don’t worry !

Paint (when the salt is dry)

Paint your part as usual, the salt will work like a mask. You can use a pre-shading if you want. But becareful to the pressure you use on your airbrush. If the pressure is too high, the salt will be remove. On this example, I worked with the Mr. color white C1 diluated at 50% and applied at 1bar.

Salt chipping

To finish, You must remove the salt. I used a toothbrush with some water and I brush … brush … and brush again. If you remember, I said you must use a hard and dry paints. That is the moment where you’re going to see if your paint it’s good.

after removing the salt
After removing the mask tape

Salt chipping on gunpla is a good way to have random chips on a your paint. I think it’s a simple technic which give good results.

See you soon 😉

MG Exia #05

Custom paint gunpla

Introduction

Definetly, I love this model kit. So I take my time to obtain the best result I can. For this post, I will speak about the custom base coat paint and the panel lines work. I don’t like the base plactic aspect of the model kit. So I prefer a custom paint gunpla.

A good way to improve the general aspect of the gunpla, for me, it’s to use the black and white technic before to paint the main color.

Technic : the black and white in action

Like on my previous work on the MG Exia, I painted a black primer coat first (ref : vallejo mecha primer black 70.642) . Then I highlighted the parts with white paint (ref Mr. Color : C1). To finish, I applied the base coat with the desired color.

I used this method for all the pieces, It’s long but I like the final apparence of the gundam.

MG Exia's - gunpla MG Exia
Arms painted and ready for the assembly

Did I say I love this Cobald Blue (ref Mr. Color : C80) ? 😍😍😍

Final painted result

After several hours of painting, this is the finish work. I’m really happy of the final result. I think the paint imprive the volumes … isn’t it ?

Custom paint gunpla MG Exia

Custom paint gunpla MG Exia

Panel lines

After that, I put a gloss varnish coat (ref : Mr Color. C46) which is very important to protect the previous work. It was ready to receive the enamel juice to improve the panel lines. Like usual, I used the panel line accent color product from Tamiya which is a perfect product for me. When I have more time, I made it myself with a classic black enamel paint thinned with white spirit. To clean it, I used zippo lighter fluid 😉 with cotton sticks or a little brush.

Panel line accent color tamiya with zippo lighter fluid and brush. Custom paint gunpla
material used for the panel lines

I don’t finish all the mecha for the moment but this is some photos without and with the product applied on some parts.

I hope this post will be useful to improve your gundam and to work on a custom paint gunpla. Don’t hesitate to write a comment and to share of you like 👍.

See you soon for the waterslides 😉.

Rusty Jo

It’s done, I finished this week-end the HG Jo Hound. It’s totally hand painting, it was a real pleasure ! I love to add weathering effect, dust and rust ♥️. I modifued some parts and adding a real green plastic lens … from my daughter’s toys 🙄.

I will probably write a post to describe all the products used to this realization.

To see more, you can go on its gallery : ▶️ here ◀️

See you soon 😉

Tau empire Commander #03

It’s done ! It was difficult for me to work with this scale, but it’s a good training. I will do a gallery for it in few days, if I’ve got enough time.

❓❓ Do you like it ? ❓❓❓

See you soon 😉 … with the MG Exia !!!!

MG Mobile Ginn #03

Work in progress : The Ginn is completed 😀 !

  • Base coat ……………………………… Done
  • Gloss varnish ………………………… Done
  • Backpack …………………….. In progress
  • Weapon …………………………………. Wait
  • Weathering …………………………….. Wait
  • Diorama …………………………………. Wait

When I list all the operations, I’m afraid 😱

To see more photos, go to the gallery : here

See you soon 😉

MG Mobile Ginn
MG Mobile Ginn : Helmet

Reference book

I received this week-end a really good book : Sci-Fi F.A.Q. by Lincoln WRIGHT (the complete guide for Sci-Fi Scale Modelers).

In 2 days, this book became my Bible. It’s full of good advises, of histories about modelling. There is a lot of beautiful photos and step by step realizations. Lincoln Wright share the knowledges with us and its a real gift.

So It’s a must have and it’s fantastic ! Thank to Lincoln for this incredible work ! I invite you to visit the website of Mr. WRIGHT (if you don’t know him) : https://www.paintonplastic.com/

See you soon 😉